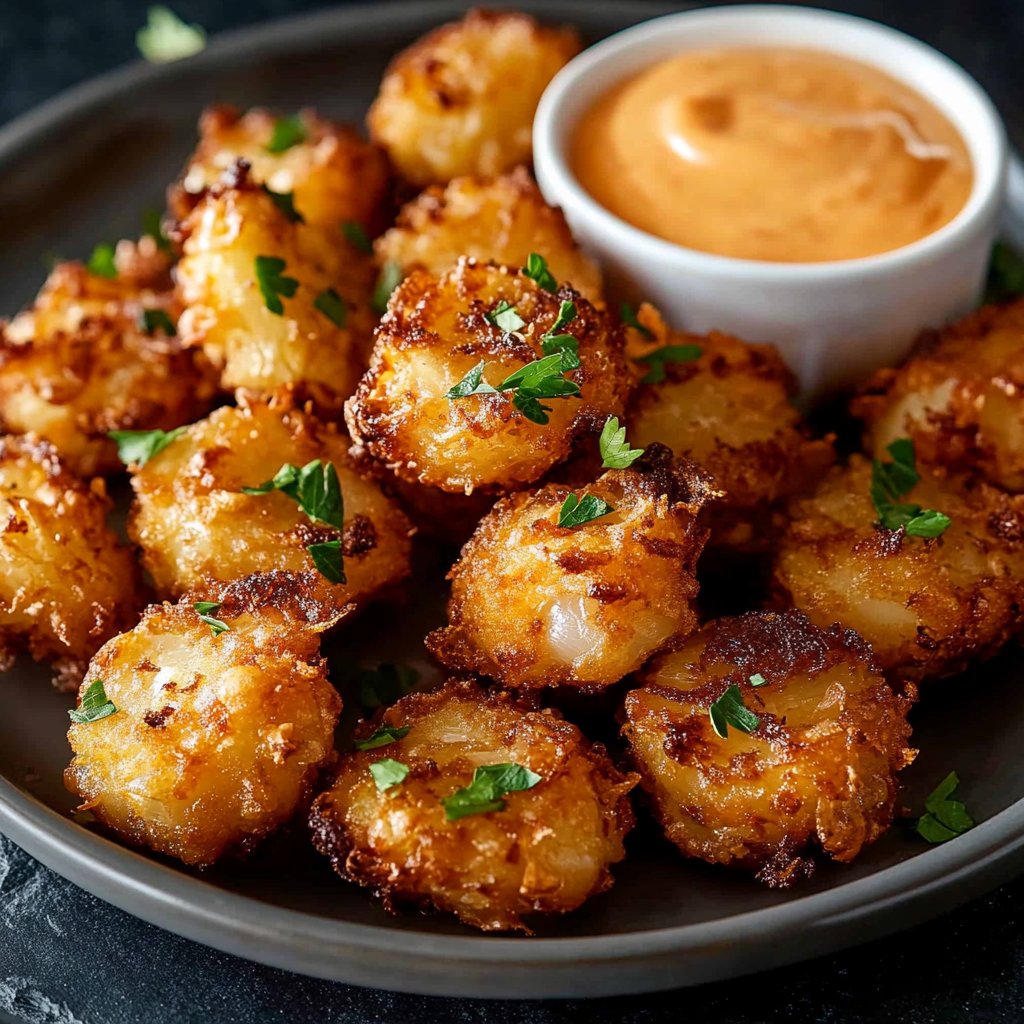
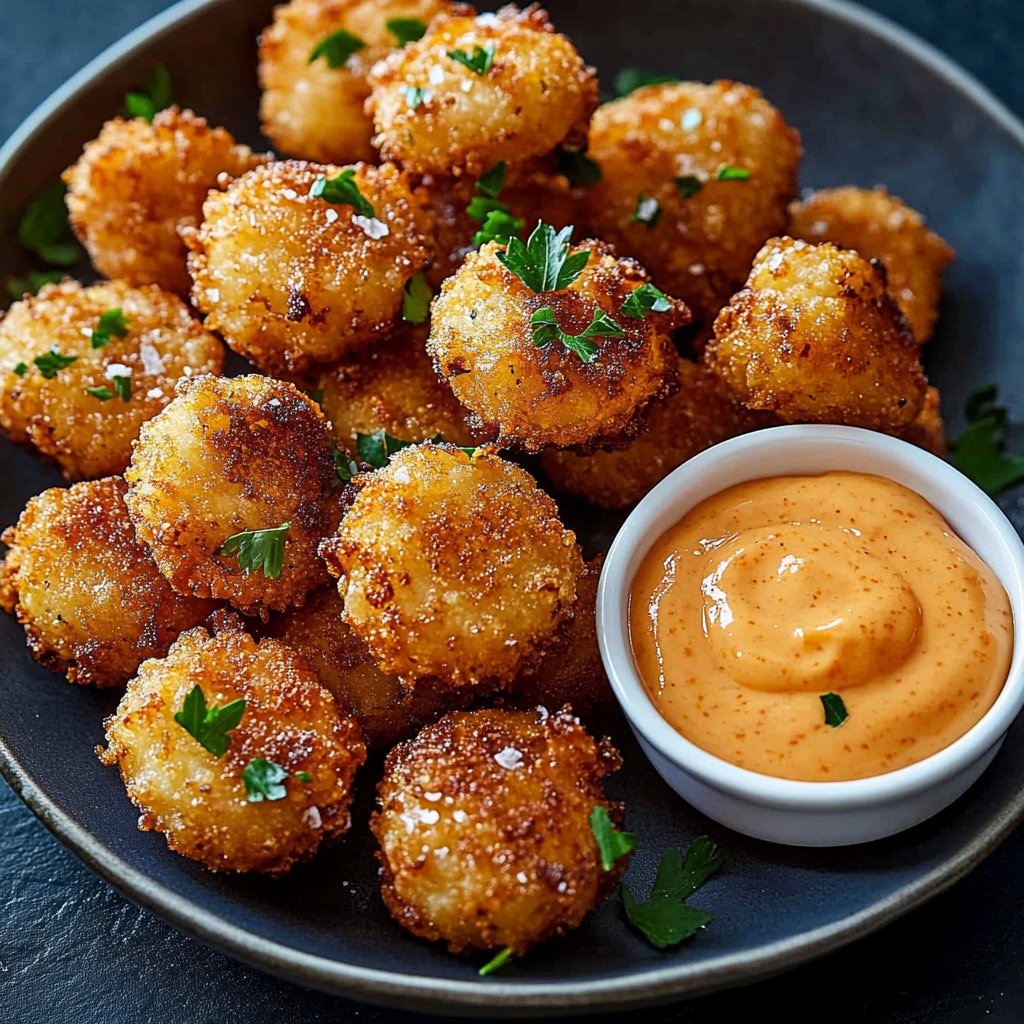
Awesome Blossom Onion Bites
Okay, so you know those giant, fried onion things you get at restaurants? They’re epic, right? Well, miniaturized them into these little bites of heaven, and let me tell ya, my life hasn’t been the same since. I first whipped these up for a last minute get together and everyone, literally everyone, went wild. My nephew, who pretty much lives on chicken nuggets and air, ate like, three bowls of these. It was hilarious. So now, whenever I need a guaranteed hit, or just feel like deep frying some happiness, these Awesome Blossom Onion Bites are my go to.
Why I Just Adore Making These
Honestly? Because they disappear so fast! I make this when friends are coming over unexpectedly or when the kids are having friends round and I need something everyone will munch on. They’re also kinda fun to make, in a messy, flour-everywhere kinda way. It’s a process, yes, but totally worth the crispy, oniony payoff. My family goes proper crazy for them, like, they literally circle the kitchen while they’re frying. It’s kinda cute (and slightly annoying).
What You’ll Need (Ingredients)
Here’s the stuff you gotta have. Don’t fret too much about being exact with everything, cooking should be fun not a chemistry lab!
- Big Ol’ Onion: One large yellow or Spanish onion. You could probably use a red one, but it might be a bit sharper; yellow works best for me.
- Flour Power: About 1 cup (or say, 120g) all purpose flour. Gluten free? Yeah, you can totally sub with a decent gluten free blend, works just fine.
- Cornstarch (or Cornflour): ½ cup (about 60g). This is key for crunch! Potato starch works too if that’s all you have kicking about.
- Spices & Flavour!:
- 1 tsp paprika (smoked paprika adds a nice twist!)
- ½ tsp garlic powder
- ½ tsp onion powder (yes, more onion!)
- ¼ tsp cayenne pepper (adjust heat to your liking, skip if serving to sensitive palates)
- Salt and black pepper to taste (be generous!)
- The Wet Stuff:
- 1 large egg
- 1 cup (240ml) milk (any kind works, honestly, even non-dairy if you need). I sometimes use buttermilk if I have it, makes them super tender.
- For Frying: Enough oil for deep frying. Vegetable oil, canola oil, peanut oil… whatever you usually fry with. You’ll need a few cups probably.
Alright, Let’s Make Some Awesome Blossom Onion Bites! (Directions)
Okay, get ready, this is where the magic (and the mess) happens!
- First things first, peel that big onion. Cut it in half from root to tip, then lay the halves cut side down and slice them into about ¼ inch thick slices. Separate the rings. You want a mix of big and small rings, it’s all good.
- In a medium bowl, whisk together the flour, cornstarch, paprika, garlic powder, onion powder, cayenne, salt, and pepper. Give it a right good mix so everything’s evenly distributed.
- In another bowl, whisk the egg and milk together until combined.
- Now, the fun part! Set up your dredging station. You’ll have your dry mix bowl, your wet mix bowl, and a plate or wire rack for the coated onion rings.
- Grab a handful of onion rings and toss them in the dry mix first. Make sure they’re well coated. Shake off any excess flour.
- Next, dip those floured rings into the wet mix, letting any excess drip off.
- Finally, back into the dry mix for a second coat! This is where you get that proper crispy crust. Press the flour gently onto the rings to make sure it sticks. Set them aside on your plate/rack while you do the rest. This is where I usually sneak a taste of the seasoned flour mix… just kidding! (Mostly). Don’t worry if they look a bit shaggy at this stage – it always does!
- Okay, get your oil ready for frying. Pour enough into a heavy bottomed pot or deep fryer so it’s about 2 3 inches deep. Heat it up to around 350°F (175°C). If you don’t have a thermometer, a good test is to drop a little bit of the batter in, and it should sizzle and float up immediately.
- Carefully add the coated onion rings to the hot oil, *don’t overcrowd the pan*! Fry in batches, turning occasionally with tongs, until they are golden brown and crispy. This usually takes about 2 4 minutes per batch, depending on your oil temperature and how many you put in.
- Using a slotted spoon, lift the fried onion bites out of the oil and place them on a paper towel lined plate to drain off the excess grease.
- Sprinkle with a little extra salt while they’re hot, if you fancy.
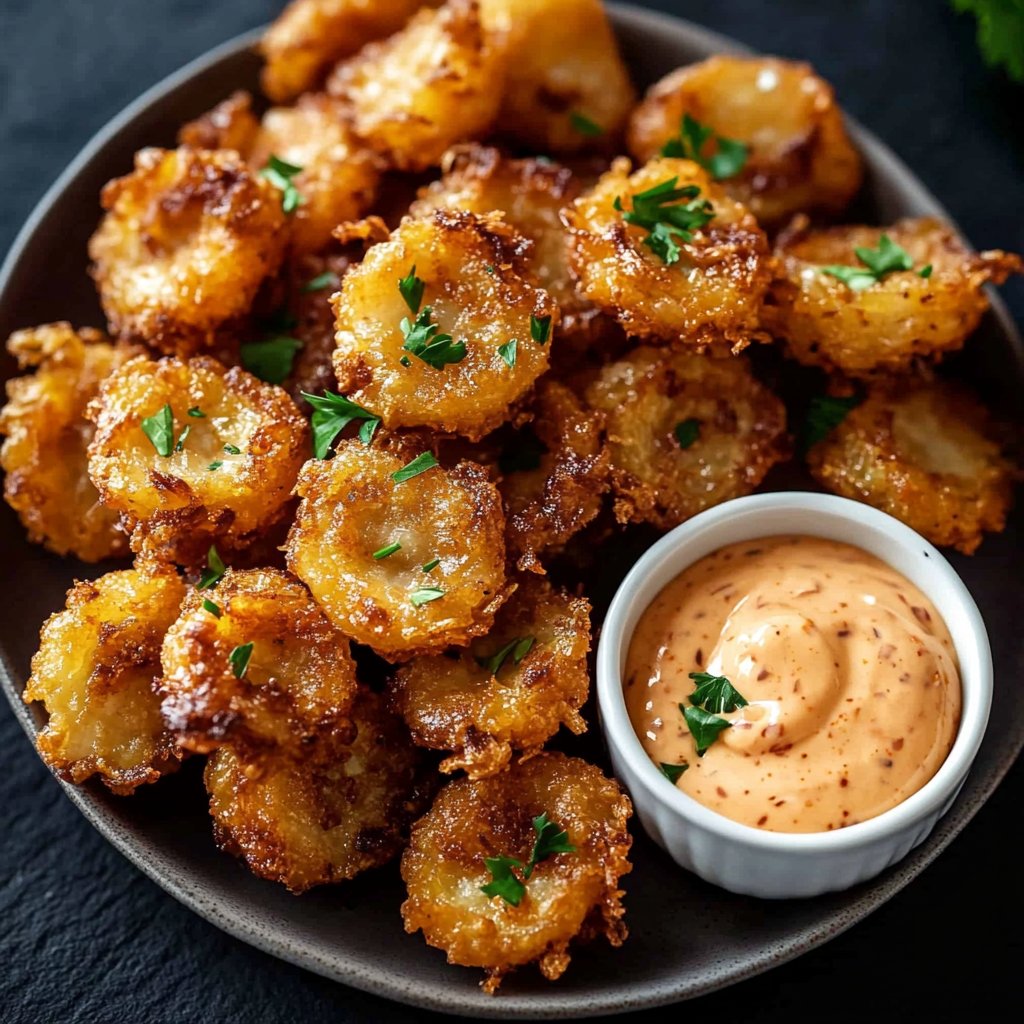
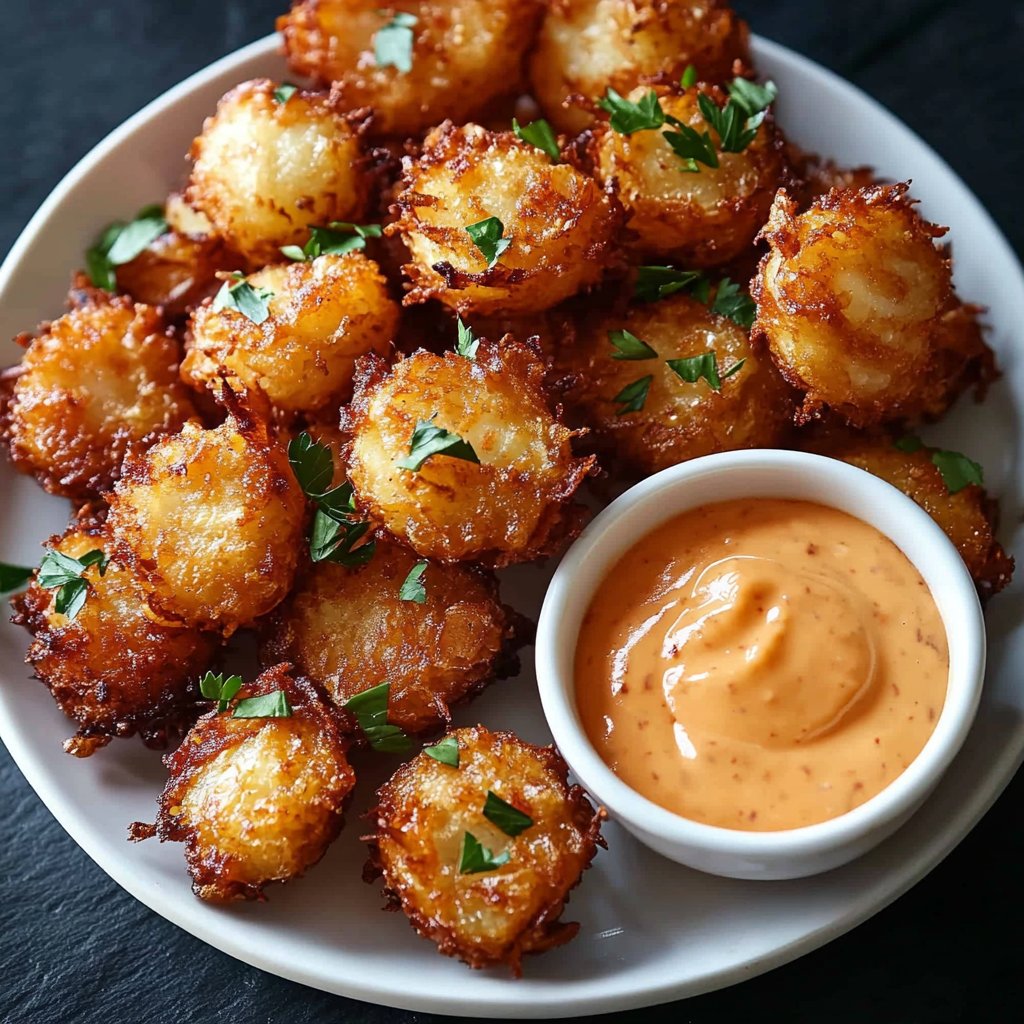
- Serve them up immediately with your favorite dipping sauce!
Little Notes & Stuff I’ve Learned (Notes)
- Oil temperature is SO important. If it’s too low, they’ll be greasy. Too high, they’ll burn before the onion cooks. Get it just right!
- Don’t skip the double dip in the dry mix. It makes a difference, truly.
- Make sure your onion rings are separated properly before coating. Clumps stick together and don’t fry evenly.
- Letting the coated rings sit for a few minutes before frying can help the coating adhere better, actually, I find it works better if you let them sit just for a minute or two.
Trying New Things (Variations)
I’ve played around with these a bit. Added some dried parsley and chives to the dry mix once, that was quite nice, gave it a little colour. Tried adding a dash of hot sauce to the wet mix too, gave it a little kick. I did try baking them once to be ‘healthier’… yeah, don’t bother. They just get soft and sad. Seriously, stick to frying for these; some things are just meant to be fried!
Tools You Might Need (Equipment)
- Sharp knife
- Cutting board
- 2 medium bowls
- Whisk
- Heavy bottomed pot or deep fryer (A Dutch oven works perfectly!)
- Slotted spoon or spider tool
- Paper towels
- Plates or wire rack
- Oil thermometer (helpful, but not strictly essential if you’re careful)
Don’t have a deep fryer? A good heavy pot on the stove works just as well, just be extra careful with the hot oil!
Keeping Them Fresh (Storage Information)
Okay, so *technically* you could store leftovers in an airtight container in the fridge for a day or two and reheat them in an oven or air fryer to crisp them up again. But honestly, in my house it never lasts more than an hour, let alone a day! They’re best eaten right away, piping hot and crispy.
Best Way to Eat ‘Em (Serving Suggestions)
You NEED a dip for these. My absolute favourite is a creamy, tangy sauce. Think mayo mixed with ketchup, a little horseradish, maybe a dash of Worcestershire sauce and some spices. Like a copycat blooming onion sauce! But honestly, ranch, BBQ sauce, or even just plain ketchup are also solid choices. My family tradition is everyone gets their own little bowl of their preferred dip.
Learning form My Mistakes (Pro Tips)
- I once tried rushing the frying step by overcrowding the pot and regretted it because the oil temperature dropped too much and they came out greasy and pale. Fry in batches, even if it takes longer. Patience is a virtue here!
- Make sure your oil is hot *before* you put the rings in. Otherwise, same problem: grease city.
- Don’t walk away while they’re frying, they cook fast and can go form perfect golden to burned in seconds. Stay and watch ’em!
Stuff People Ask Me (FAQ)
Got questions? Probably! Here are a few I hear a lot:
Q: Can I use a different kind of onion?
A: Yeah, totally! As I said, yellow or Spanish are my faves, but white works too. Reds are a bit strong for my taste but hey, you do you!
Q: What if I don’t have cornstarch?
A: You can use potato starch or even just use all flour, but honestly, the cornstarch really helps with the crispiness factor. See if you can snag some – it’s dead easy to find.
Q: Is deep frying scary?
A: It can be a little intimidating at first, I get it! Just be super careful, never leave hot oil unattended, make sure the food isn’t dripping wet when it goes in (water + hot oil = bad!), and use a heavy pot or a proper fryer. You can find lots of great deep frying safety tips online if you’re nervous, it’s worth reading up!
Q: Can I make the batter ahead of time?
A: The dry mix, sure, store it in an airtight container. The wet mix? Nah, make it just before you need it. And definitely coat the rings right before frying.
Q: Where can I get a good recipe for that dip?
A: Oh, my blooming onion dip is a work in progress! But there are tons of great blooming onion sauce recipes out there you could try! Or maybe just a simple homemade ranch?