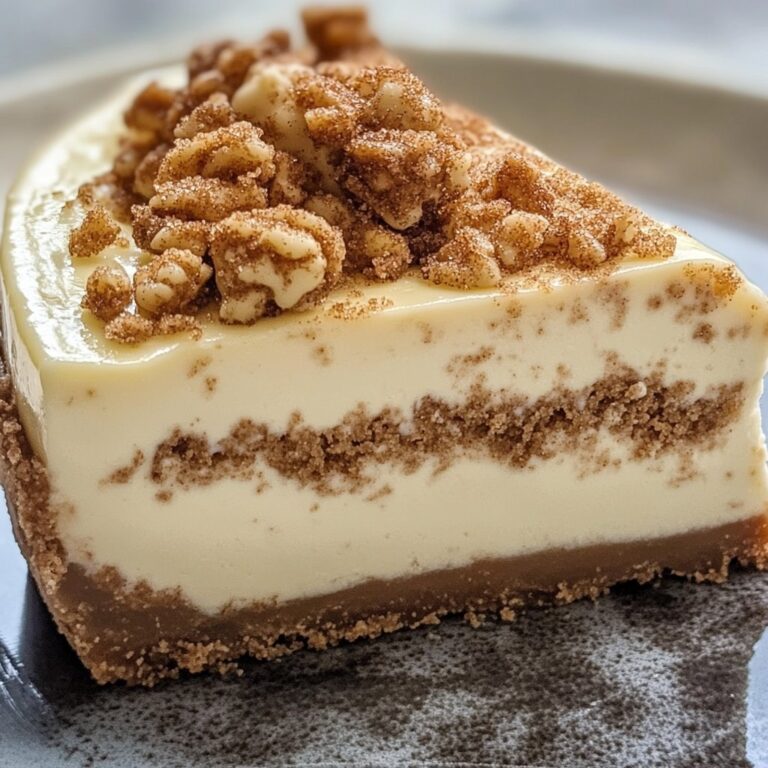
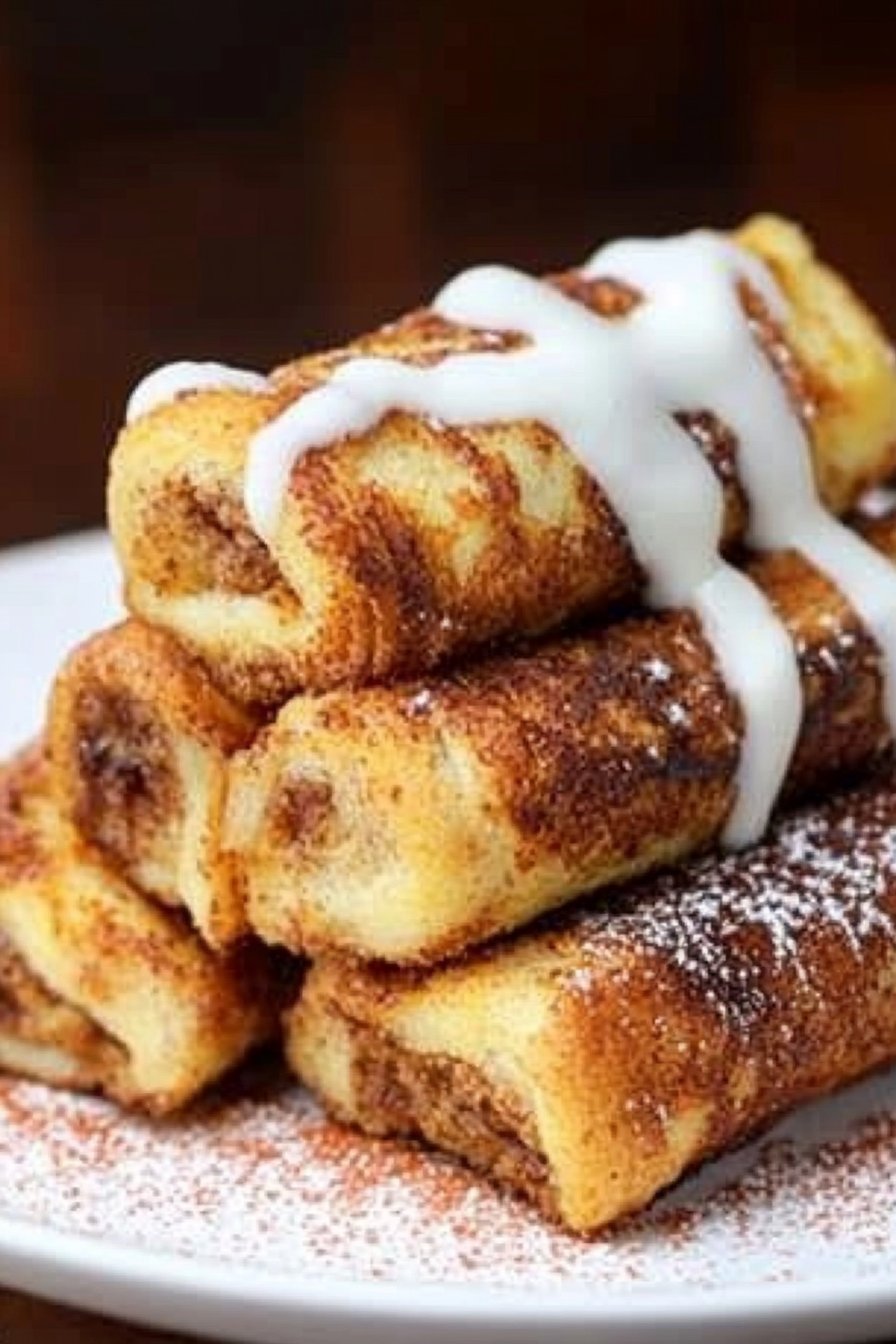
Cinnamon Roll French Toast Roll-Ups
Okay, Let’s Talk Cinnamon Roll French Toast Roll-Ups!
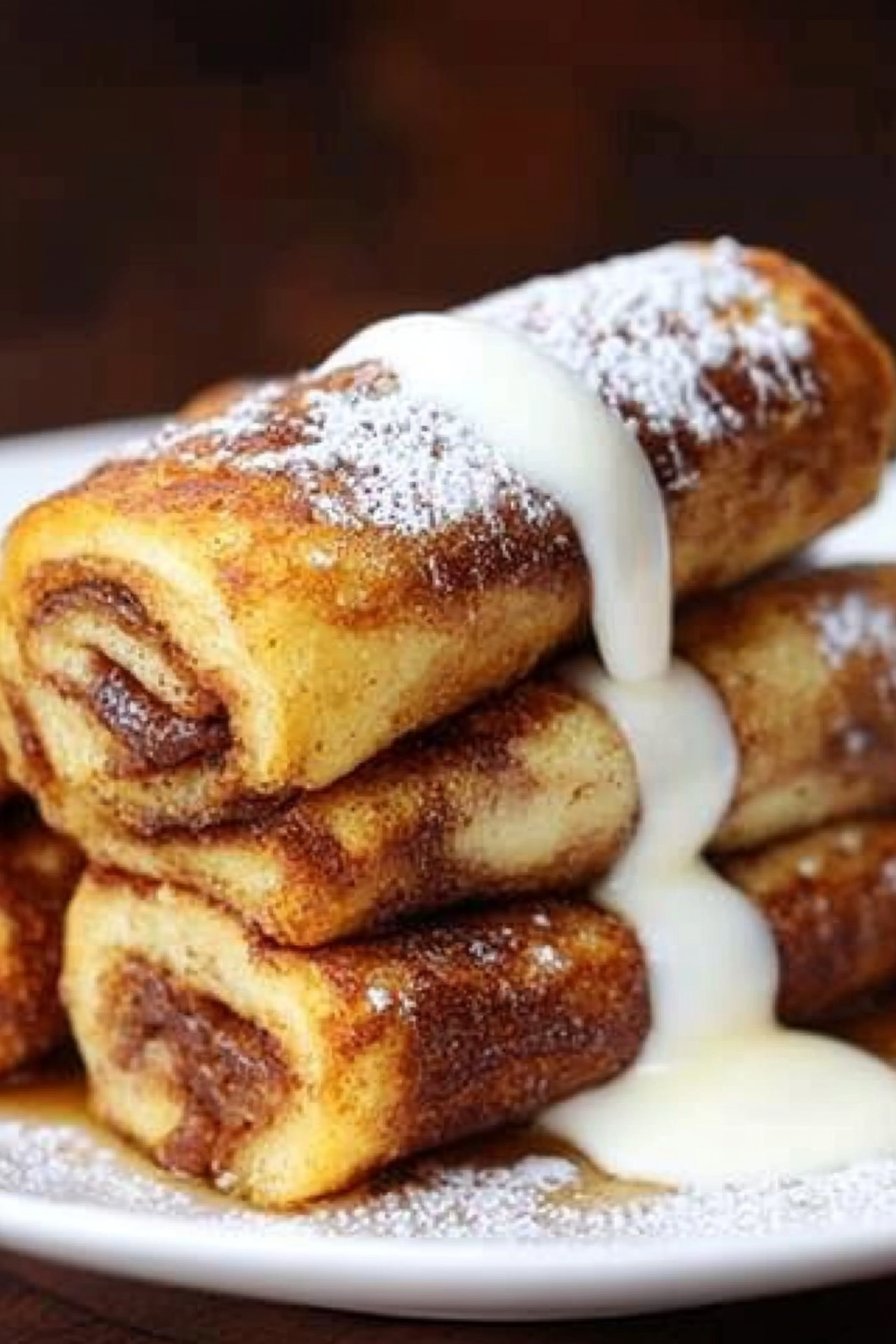
Right, so picture this: Saturday morning, everyone’s still a bit sleepy, and you want something kinda special but, let’s be honest, not *too* much work? That’s where these beauties come in. I first tried making something like this after seeing a crazy video online, and my first attempt? Total disaster. Like, filling everywhere, burnt bits… you name it. But I tinkered, and now these Cinnamon Roll French Toast Roll-Ups are my secret weapon for weekend happiness. They’re basically the love child of a cinnamon roll and French toast, and who wouldn’t want that?! It’s just pure comfort food, simple as that.
Why These Are Always a Hit In My House
- The Combo is Killer: Seriously, warm cinnamon filling swirled inside custardy French toast? It’s just *chef’s kiss*.
- Surprisingly Quick: Okay, they take a little assembly, but the actual cooking part is super fast. Perfect when you have hungry folks waiting (or when you’re the hungry folk!).
- Kid Magnet: My little ones go absolutely BONKERS for these. They love helping roll them up too, even if it gets a little messy. (Okay, sometimes *really* messy, but memories, right?)
- Uses Up Stale-ish Bread: Got bread that’s a day or two old? It’s actually perfect for this! It soaks up the egg mix without getting *too* soggy. Waste not, want not!
What You’ll Need (Give or Take)
Here’s the basic lineup, but feel free to swap things around based on what you’ve got:
- Bread: About 8-10 slices of soft white sandwich bread. Brioche or challah are fancier and yum, but honestly, plain ol’ white bread works great. Just make sure its reasonably soft.
- For the Filling:
- Softened Butter: Maybe 1/4 cup (about 50-60g)? Unsalted is what I usually grab, but salted is fine too, just adds a little something.
- Brown Sugar: A good 1/3 cup, packed. Light or dark, whatever floats your boat.
- Cinnamon: 1-2 teaspoons. I love a good strong cinnamon, like Vietnamese cinnamon, but any kind will do the trick. My nan swore by McCormick, but use your fave.
- Optional Cream Cheese: Sometimes, if I’m feeling decadent, I mix a couple tablespoons of softened cream cheese into the filling. SO good.
- For the French Toast Dip:
- Eggs: 2 large ones.
- Milk: About 1/2 cup. Whole milk is richer, but any milk (even almond or oat!) works.
- Vanilla Extract: A splash, maybe 1/2 teaspoon? Measure with your heart.
- Pinch of Salt: Balances the sweetness.
- For Frying:
- Butter or Oil: A tablespoon or two for the pan. I usually use butter for flavour.
- For Topping (Optional but Recommended!):
- Maple Syrup
- Powdered Sugar
- Cream Cheese Glaze (just thin some cream cheese with milk and powdered sugar)
- Fresh Berries

Alright, Let’s Make Some Magic!
- Prep the Bread: First off, trim the crusts off your bread slices. Yeah, it feels a bit fussy, but it helps them roll up nicely without cracking. Then, grab a rolling pin (or a wine bottle, no judgement!) and flatten each slice out pretty thin. Like, maybe 1/8 inch? Ish.
- Mix the Filling: In a small bowl, mash together the softened butter, brown sugar, and cinnamon until it’s a nice, spreadable paste. If you’re using the cream cheese, mix that in too. This is where I usually sneak a taste… you know, for quality control.
- Spread and Roll: Take a flattened bread slice and spread a thin layer of the cinnamon filling all over one side, leaving a tiny border at one edge. Don’t go too thick, or it’ll all squish out (ask me how I know). Carefully roll it up tightly, starting form the edge *without* the border. Press the seam slightly to seal. Repeat with the rest of the bread.
- Make the Eggy Dip: Whisk the eggs, milk, vanilla, and salt together in a shallow dish. Something wide enough to fit a roll-up works best, like a pie plate or a baking dish.
- Dip ‘Em: Okay, gently dip each roll-up into the egg mixture. Don’t let them soak for ages, just a quick roll around to coat all sides. Actually, on second thought, maybe let it sit for 5-10 seconds per side to really soak in a bit, just don’t let it get waterlogged.
- Fry ‘Em Up: Get your frying pan over medium heat. Melt a knob of butter (or heat your oil). Once it’s shimmering, carefully place a few roll-ups in the pan, seam-side down if possible to start. Don’t crowd the pan! Cook for a couple of minutes per side, turning gently, until they’re beautifully golden brown all over. Watch ’em like a hawk; they can burn quickly! This usually takes maybe 4-6 minutes total per batch?
- Serve!: Get them out of the pan and onto a plate. Serve immediately while they’re warm and glorious! Drizzle with syrup, dust with powdered sugar, go wild!
Oh, I nearly forgot! Sometimes while I’m cooking these, the smell reminds me of this little bakery near my old flat. They had the best cinnamon buns… anyway! Back to the roll-ups.
Things I’ve Learned Along the Way (Notes)
- Roll ’em tight! It really does help keep the filling *mostly* inside.
- Don’t oversoak the bread in the egg mix. Soggy roll-ups are sad roll-ups.
- Some filling *will* probably leak out while cooking. It’s okay! It gets caramelized and yummy in the pan. Don’t stress if they don’t look perfectly neat. Mine never do!
- Medium heat is your friend. Too high and they burn outside before cooking inside. Too low and they get greasy.

Playing Around With It (Variations)
I love messing with recipes, keeps things interesting, y’know? Here are a few things I’ve tried:
- Nutella Filling: Swap the cinnamon butter for Nutella. Oh. My. Goodness.
- Fruity Version: Use a layer of fruit preserves (like strawberry or raspberry jam) instead of, or alongside, the cinnamon filling.
- Savory Fail: Okay, confession time. I once tried making a savory version with cheese and herbs. It… did not work. At all. Let’s just stick to sweet for these, eh? Sometimes you just gotta know when to quit.
Stuff You Might Need (Equipment)
- A good non-stick frying pan or skillet is pretty essential here, prevents sticking disasters. I really like my Good & Gather one from Target, cleans up super easy.
- Rolling Pin (but again, a clean bottle or even a sturdy glass can work in a pinch!)
- Shallow dish for the egg mixture
- Spatula or tongs for turning
Storing Leftovers (If Any!)
Okay, let’s be real, in my house these Cinnamon Roll French Toast Roll-Ups rarely last long enough to become leftovers! But *if* you have some, let them cool completely and store them in an airtight container in the fridge for maybe 1-2 days. They reheat surprisingly well in a toaster oven or air fryer for a few minutes to get crispy again. Microwaving works but makes them a bit soft.
How We Like to Eat Them
Obviously, drowning them in maple syrup is non-negotiable for me. A dusting of powdered sugar makes them look pretty. Sometimes, especially if we’re having them for dessert (yep, totally works!), I’ll add a dollop of whipped cream or even a scoop of vanilla ice cream. Don’t knock it till you try it!
Pro Tips (Learned the Hard Way!)
- Don’t Crowd the Pan: I once tried to cook too many at once to save time. Bad idea. The pan temperature dropped, they didn’t brown properly, and they just sort of steamed. Cook in batches! Its worth the extra couple minutes.
- Hot Pan First: Make sure your butter is melted and shimmering (or your oil is hot) *before* adding the roll-ups. This helps seal the outside quickly and prevents them from absorbing too much fat.
- Use Soft Bread: Seriously, trying to roll slightly dry or crusty bread just leads to cracking and frustration. Soft sandwich bread is easiest.
Questions I Get Asked Sometimes (FAQ)
- Can I make these ahead of time?
- You can maybe assemble the roll-ups (roll with filling) a few hours ahead and keep them covered in the fridge. But I’d wait to do the egg dip and frying until you’re ready to serve. They’re definitely best fresh and warm!
- Help! My filling is leaking out everywhere!
- Yeah, that happens sometimes! A little leakage is normal. Make sure you’re not overfilling them, roll them tightly, and maybe try pressing the seam gently. Also, starting seam-side down in the pan can help seal it a bit. But don’t sweat it too much, the crispy leaked bits are tasty too!
- Can I use different kinds of bread?
- Totally! Brioche or challah make them extra rich and decadent. Even whole wheat works if that’s your thing, though the texture will be different. Just make sure it’s sliceable and rollable.
- Are these super sweet?
- They definitely lean sweet, especially with syrup! But you control the sugar in the filling and the toppings. You could reduce the brown sugar a bit if you prefer. I reckon they’re just right though!
- Where can I find other fun breakfast ideas?
- Oh gosh, the internet is full of them! I often browse sites like Allrecipes or just Pinterest when I’m fixin’ to try something new.

