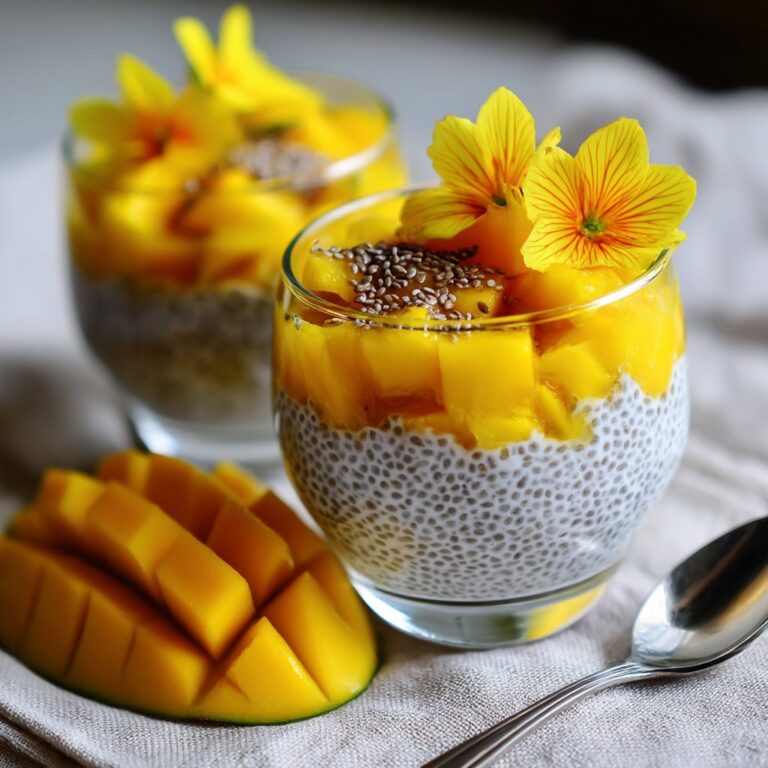
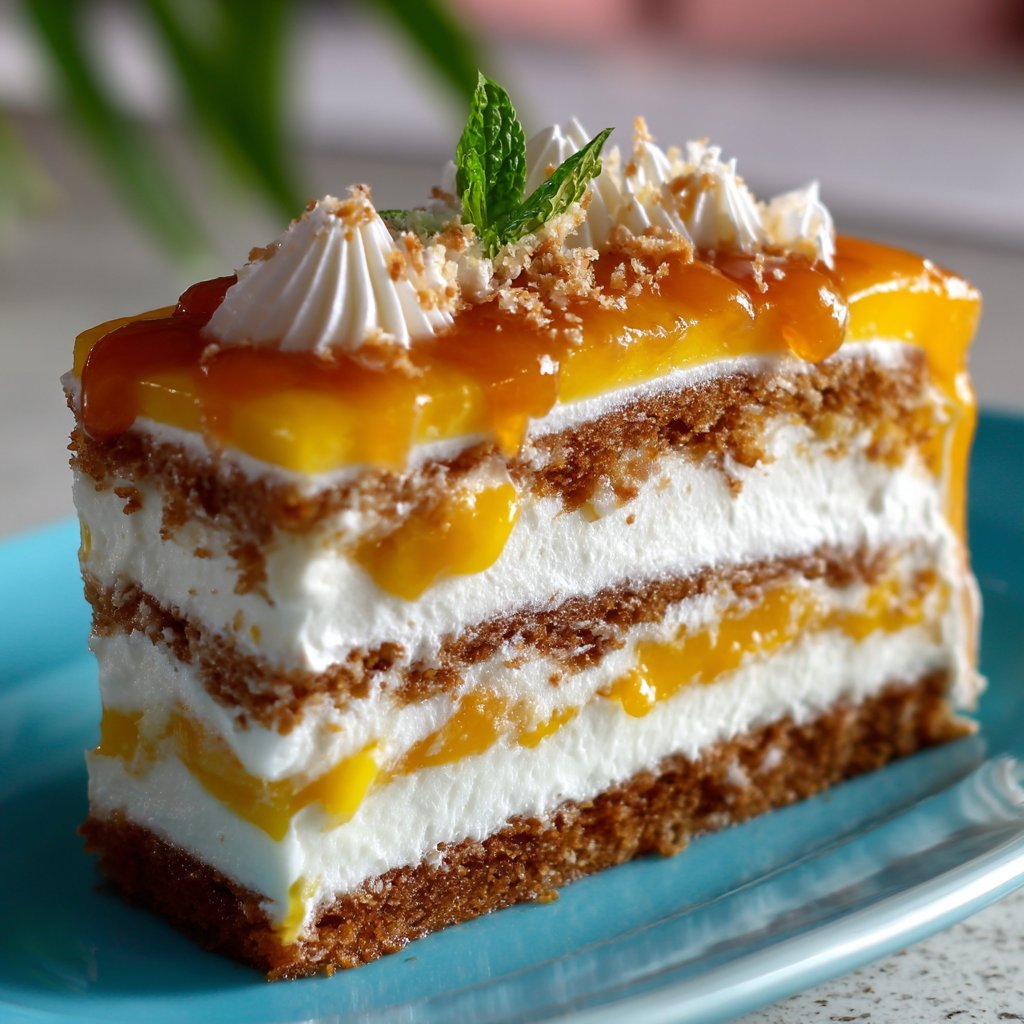
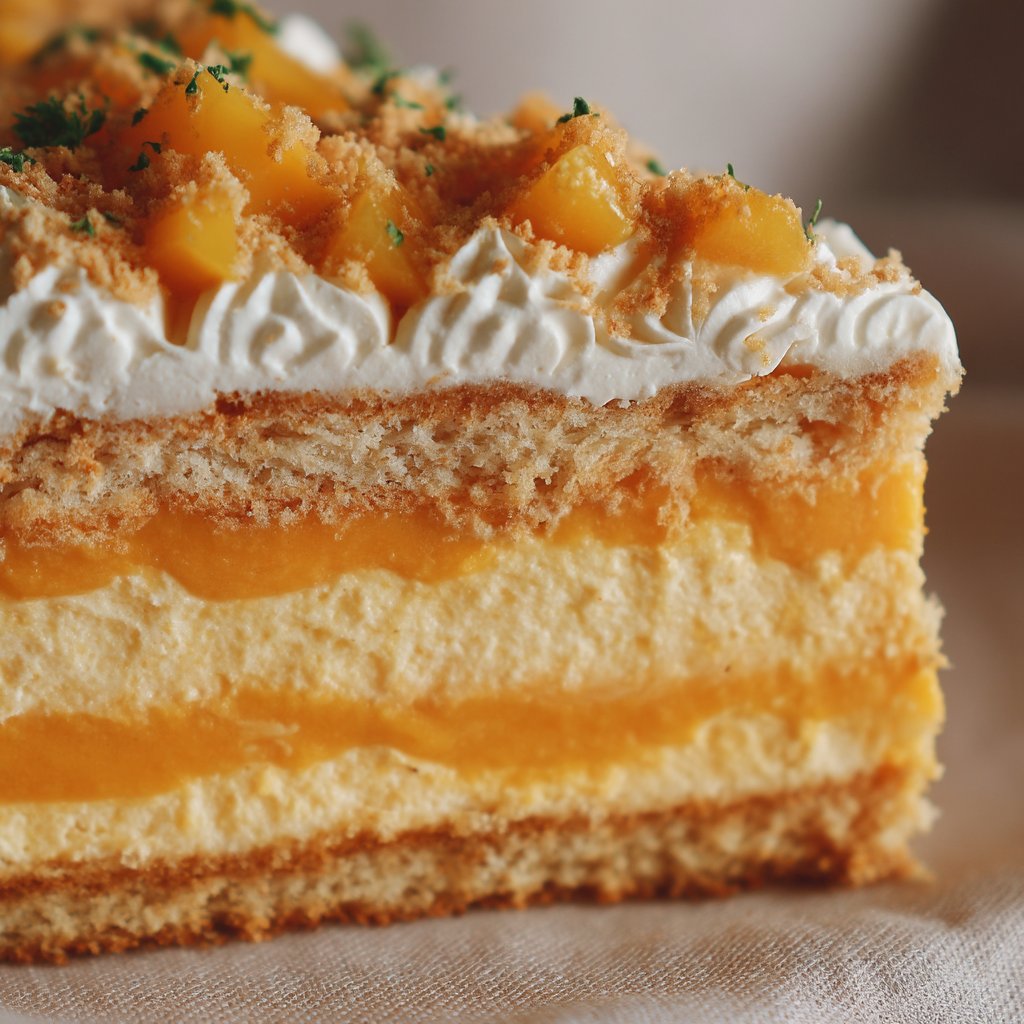
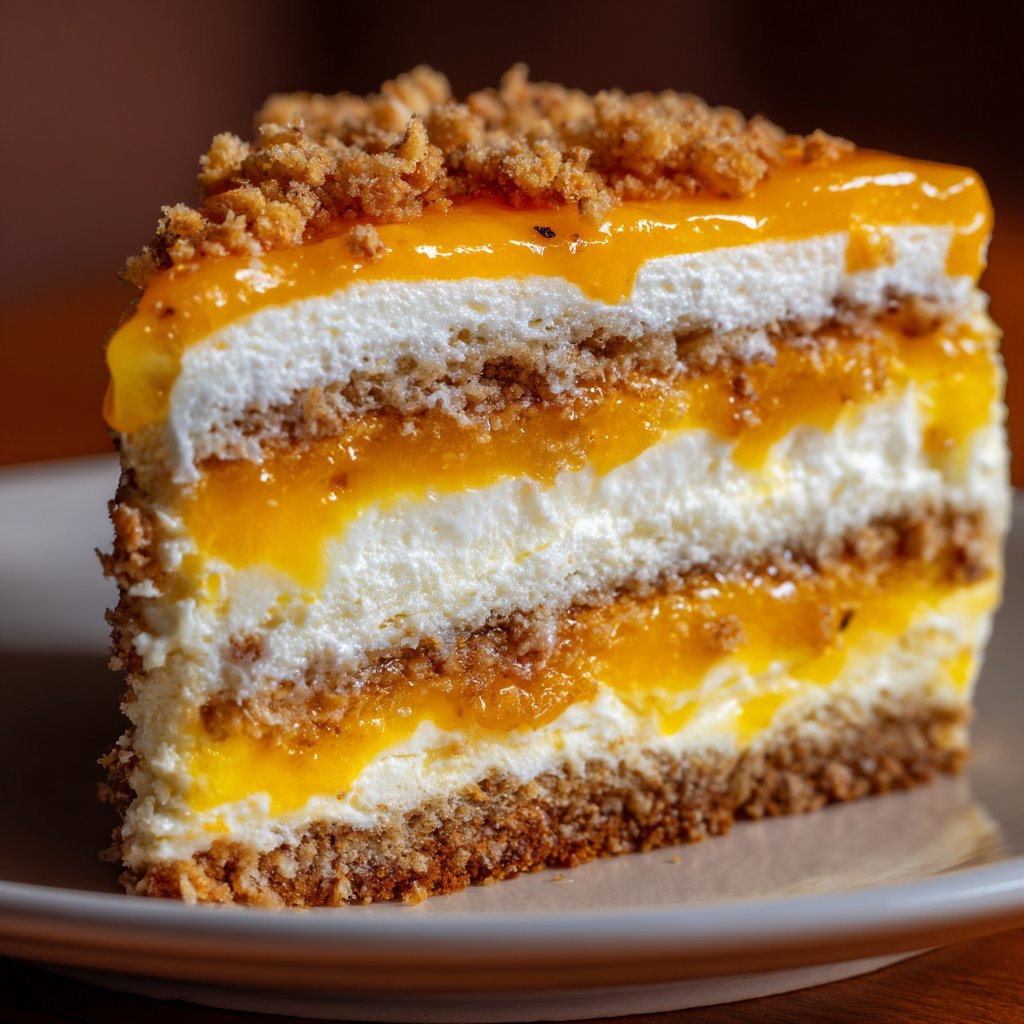
Mango Float
Okay, So You Want to Make Mango Float?
Listen, I’m no fancy chef, not by a long shot. My kitchen is usually a bit of a disaster zone, and sometimes things just… don’t work out. But this mango float? This is my superpower. It’s the dessert I bring to potlucks when I want everyone to think I spent hours fussing, when really I just spent maybe 20 minutes layering things. My grandma taught me a version of this years ago, and I swear, it holds a special place in my heart (and stomach!). There’s just something about the creamy, dreamy layers and that burst of fresh mango… it just screams happiness, you know?
Why I Keep Making This (And Why You Might Too)
Honestly, I make this when I need a win. Like, if dinner was a bit of a flop (happens to the best of us!), this mango float totally redeems the meal. My family goes absolutely nuts for it because it’s not too heavy, which is great after a big dinner, but it still feels incredibly indulgent. Plus, it’s no-bake! ZERO oven time required. That’s a massive plus, especially when it’s boiling hot outside and just the thought of turning on the oven makes you sweat.
What You’ll Need (Don’t Stress About Perfection!)
Here’s the lowdown. You don’t need anything fancy, promise.
- Ripe Mangoes: About 3-4 large ones. Pick ones that smell sweet and give just a little when you press them. This is where the magic happens, really. Sometimes if mangoes aren’t quite in season, I’ve, um, *attempted* to use frozen, but fresh is miles better, trust me on this.
- All-Purpose Cream: Like the Nestlé kind, found in Asian grocery stores or the international aisle. You’ll need maybe 2 cartons (about 500ml total). Make sure it’s super cold! This is crucial for whipping.
- Sweetened Condensed Milk: One can, typically around 300ml. Adjust this to your taste, maybe start with half a can and add more? My sweet tooth is… robust, so I usually use the whole can.
- Graham Crackers: One pack. You can use the plain kind, or honey, doesn’t really matter. Sometimes I’ve been lazy and used digestive biscuits instead, and they work okay, just a different vibe. Crushed cookies work too if you’re feeling wild.
Putting It Together (My Slightly Chaotic Process)
Okay, so here’s how this usually goes down in my kitchen.
- First things first, get your cream seriously, seriously cold. Like, stick it in the freezer for 15-20 minutes if you forgot to chill it earlier. Trust me, this step is important.
- While the cream is chilling, peel and slice your mangoes. You want some nice slices for layering and maybe dice a bit extra for the top later? Do whatever feels right. This is where I usually sneak a taste of the mango. You gotta test for quality, right?
- Now, the cream part. Get a big bowl. Pour in that super cold all-purpose cream. Get your electric mixer ready. (If you don’t have one, a whisk and serious arm power work too, but… good luck. You’ll need it!) Beat the cream until it gets thick. It won’t get stiff like whipped cream made from heavy whipping cream, more like a thick, soft peaks situation. Don’t overwhip it, you’ll see when it thickens up nicely.
- Pour in the condensed milk. Start with maybe two-thirds of the can? Then beat it again until it’s all combined and smooth. Taste it. Need more sweet? Add more condensed milk. Simple.
- Okay, time to assemble! Grab a dish. A glass dish looks pretty so you can see the layers, maybe an 8×8 inch square or a slightly larger rectangular one.
- Lay down a single layer of graham crackers at the bottom. Don’t worry if you have to break them to fit, it’s fine.
- Spoon about a third of your cream mixture over the crackers. Spread it out gently.
- Place a layer of mango slices on top of the cream. Try to cover most of the cream, but gaps are totally okay.
- Repeat the layers: crackers, cream, mango. Do this until you run out of stuff, ending with a layer of cream on top.
- For the grand finale, arrange the remaining mango slices (or diced mango, whatever you have left) decoratively on top of the final cream layer.
- Cover it up. Plastic wrap works fine.
- THIS IS THE HARDEST PART: Put it in the fridge. It needs several hours, honestly. Ideally, overnight. This gives the crackers time to soften and everything to meld together into magical creaminess. Seriously, don’t skip this part. It’s worth the wait, I promise.
Just a Few Notes I’ve Picked Up…
- Make sure the cream is super cold before whipping it. I know I said it already, but it’s a total game-changer. Lukewarm cream? You’ll be whipping forever, and it still might not thicken right. Learned that the hard way.
- Don’t rush the chilling time. The crackers need to soften properly, otherwise, you’ll get crunchy bits, and nobody wants that. It needs time to set up beautifully.
- Ratio is key, but also flexible. I tend to do thicker cream layers and generous mango layers, but you can adjust based on what you like. More crackers? Go for it.
Things I’ve Tried (Some Worked, Some… Didn’t)
I like to experiment, sometimes it pays off, sometimes you just make a weird mess. I’ve tried adding a splash of vanilla extract to the cream mixture, and yeah, that was pretty good! Added a nice little something extra. I also tried layering in some toasted shredded coconut once, which was a decent textural contrast.
One time though, I thought, “Hey, what about throwing some crushed pineapple in there?” Sounded tropical, right? Ugh, no. The pineapple released too much liquid and made everything watery and weirdly tangy. Not a fan. Stick to the mango, folks.
Handy Gadgets (And What To Do Without Them)
An electric hand mixer is super helpful for whipping the cream quickly. But listen, if you don’t have one, a balloon whisk and some elbow grease will get the job done. Just be prepared for a workout!
A good peeler and knife for the mangoes are essential, obviously. And a nice glass dish makes it look pretty, but any container works, honestly.

Keeping It Fresh (If It Even Lasts)
Keep it covered in the fridge. It should last for 3-4 days, maybe even 5. The flavours actually develop more overnight, so it often tastes even better the day after you make it. Though honestly, in my house, a batch this size never lasts more than a day or two, maximum!
How I Like To Serve It
Straight form the fridge, cold and creamy! I just spoon out generous portions. Sometimes I’ll top it with a little extra diced mango or a sprinkle of graham cracker crumbs if I have any left over. My nephew likes a tiny drizzle of extra condensed milk on top, which is totally overkill but hey, he’s a kid!
Lessons Learned (So You Don’t Make My Mistakes!)
I once tried rushing the chilling process because I was impatient for dessert and regretted it because the crackers hadn’t softened properly. Result? A not-so-great texture. Give it time! Also, don’t use low fat cream, it just won’t whip up the same way and you’ll be disappointed. Go for the full fat, you’re making dessert after all!
Burning Questions You Might Have (Or That I’ve Been Asked)
Q: Can I use frozen mango?
A: You can, but it’s not ideal. It tends to be much more watery and less flavourful than fresh ripe mango. If you absolutely have to, thaw it well and drain off any excess liquid first.
Q: What if my cream isn’t whipping?
A: Is it cold enough? Seriously, stick it in the freezer for 15 minutes. Also make sure you’re using all-purpose cream, not heavy whipping cream (which whips differently) or milk. If it’s still not thickening much, maybe you got a dud carton? It happens!
Q: Can I make this ahead of time for a party?
A: Absolutely! In fact, making it the day before is perfect. It gives it that essential time in the fridge to set up beautifully.
Q: Where do I find all-purpose cream?
A: Check the international aisle at your local supermarket, often with Filipino or Asian ingredients. Online Filipino grocery stores are another great option if you can’t find it locally.
There you go! My slightly messy, but always delicious, take on mango float. Give it a try!