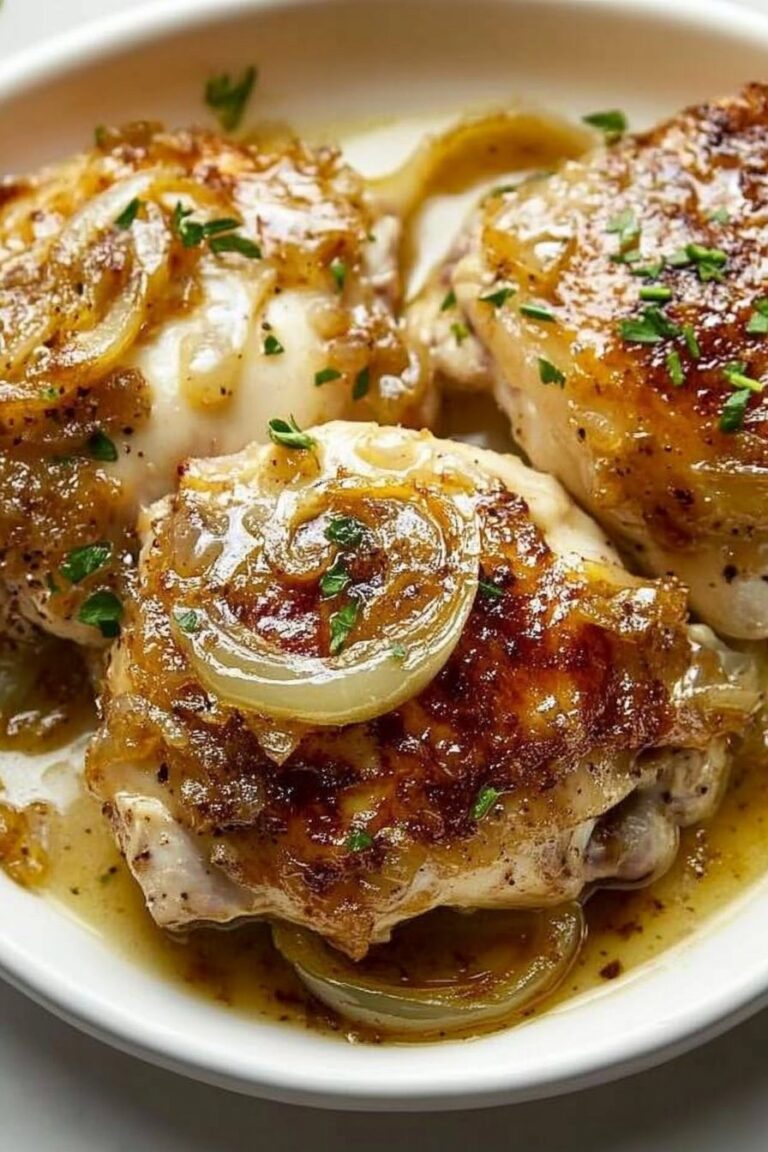
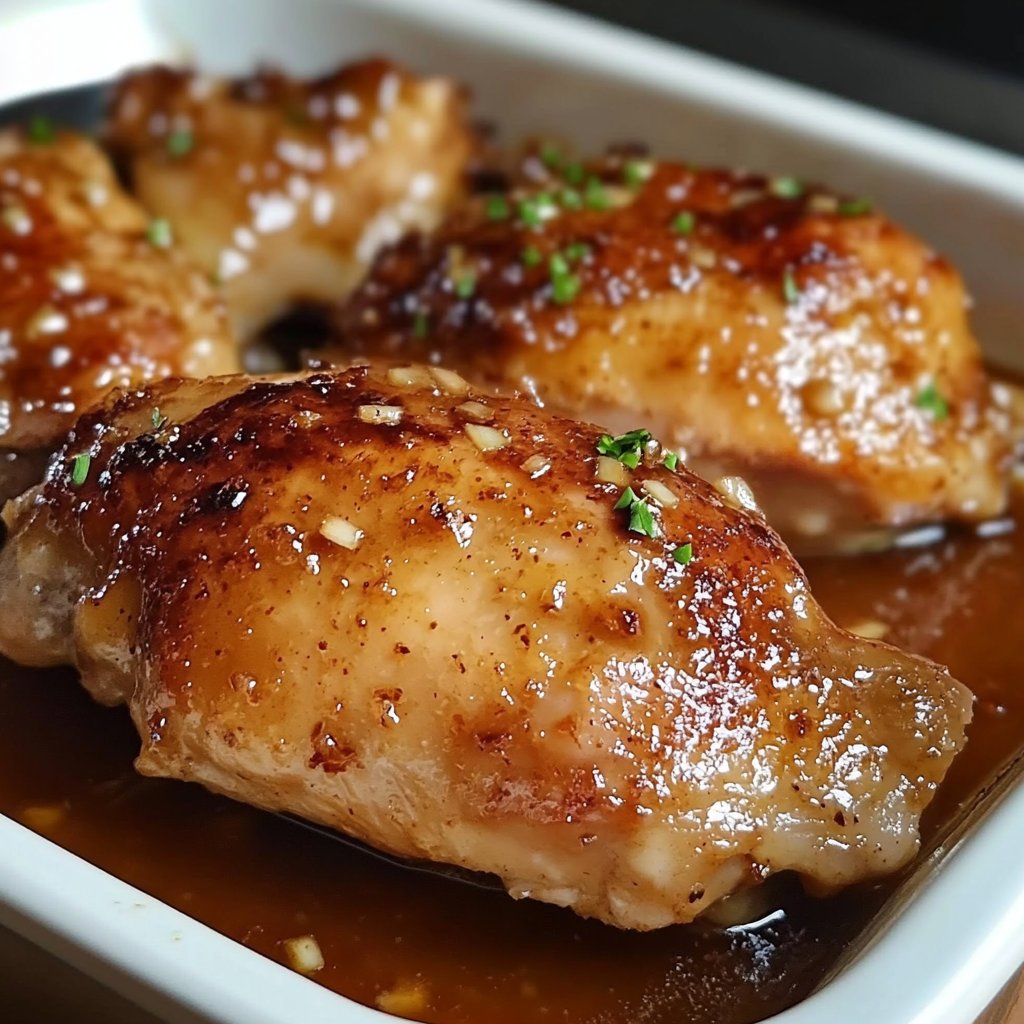
Garlic Brown Sugar Chicken
So, About This Chicken…
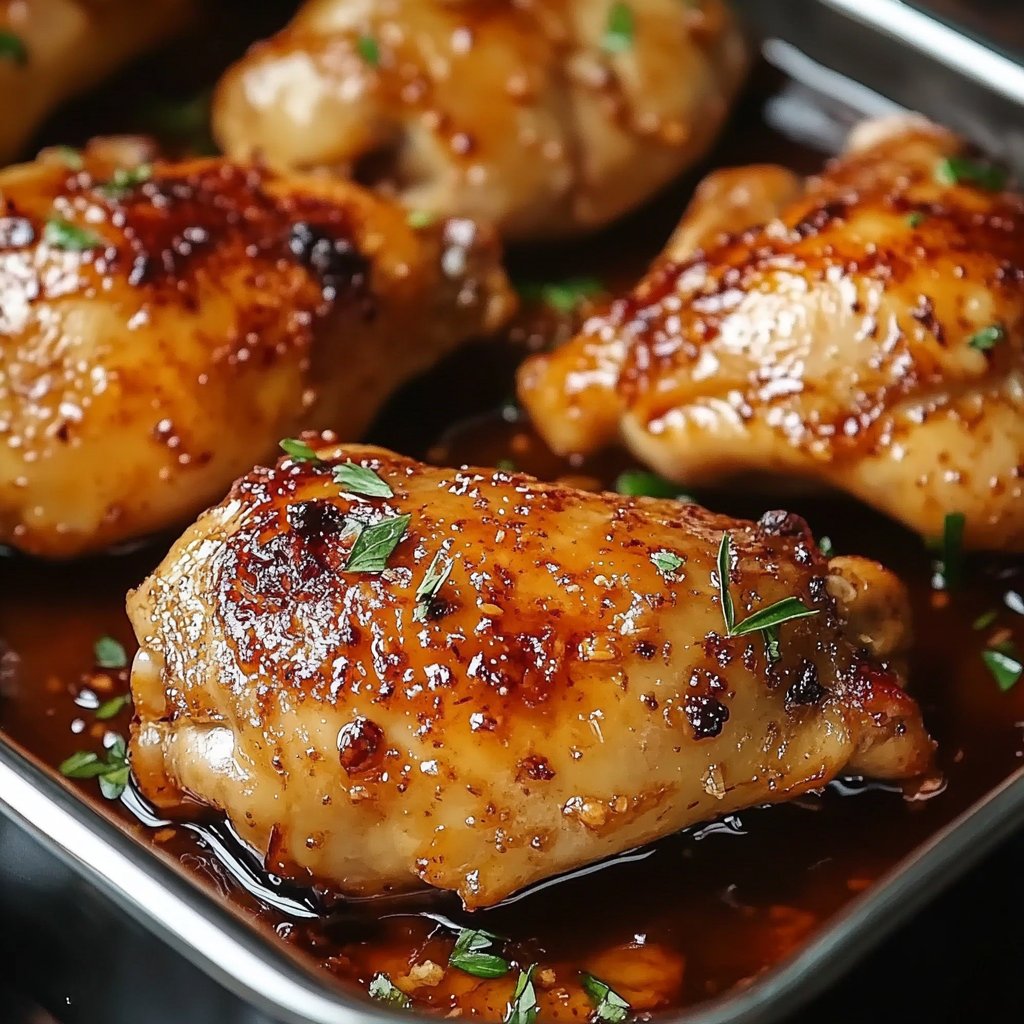
Okay, y’all. Let’s talk chicken. Specifically, this Garlic Brown Sugar Chicken number. It’s one of those recipes I pull out when I need a win, you know? Like, it *always* works, everyone devours it, and it makes your house smell like the best kind of comfort food. I remember the first time I made it, I was totallywinging it, honestly, because I had chicken thighs and a serious craving for something sweet and savory, and lo and behold, this gem was born. Or maybe I saw a version online and tweaked it? Who knows, the details are fuzzy, but the deliciousness? That’s crystal clear.
Seriously, forget complicated weeknight meals. This one is a doddle.
Why This Stuff Rocks
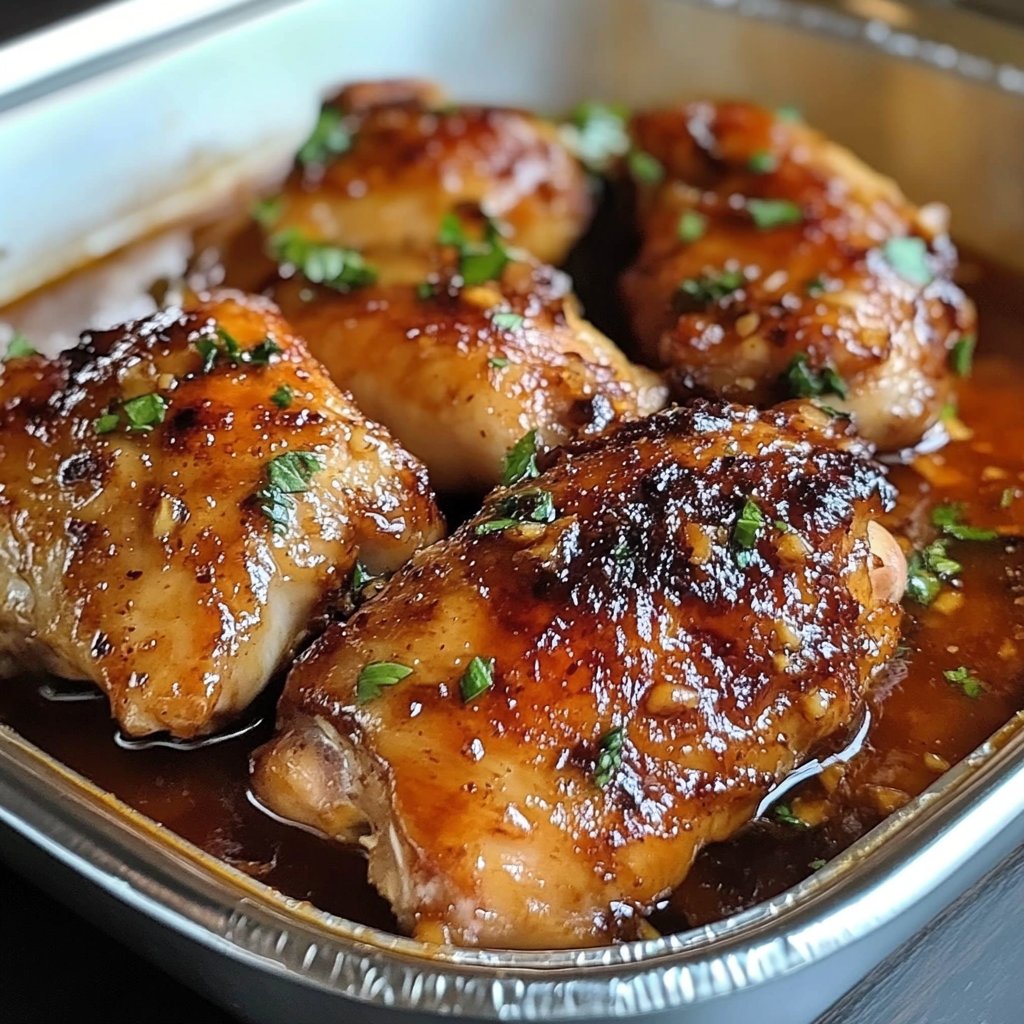
Why do I make this Garlic Brown Sugar Chicken so often? Well, for starters, my kids (and let’s be honest, the grown-ups too) absolutely flip for the sticky, gorgeous sauce. It’s sweet, it’s garlicky, it’s got just enough savory depth form the soy sauce. Plus, it’s made with chicken thighs, which are, in my humble opinion, the superior cut of chicken for flavor and keeping things moist. I make this when I’m short on time but don’t want to compromise on taste (which is, like, every Tuesday). It’s also surprisingly cheap to make, especially if you catch chicken thighs on sale! It really is a crowd-pleaser.
Okay, What You Need
Gather ’round, here’s the goods. Nothing too fancy, promise.
* **Chicken Thighs:** About 1.5 pounds (roughly 6-8 thighs, bone-in or boneless, skin-on or off… your call! I usually go boneless, skinless for speed, but skin-on bone-in gets you crispy bits which are *divine*).* **Garlic:** A generous amount. Think 6-8 cloves, minced. Or heck, just measure with your heart, I usually do!* **Brown Sugar:** Half a cup, packed. Light or dark brown sugar works. I tend to use light ’cause that’s usually what’s in my pantry.* **Soy Sauce:** Half a cup. Use a good quality one if you can, makes a difference I think. Low sodium is fine if you’re watching salt.* **Rice Vinegar:** About 2 tablespoons. Gives it a nice little tang to balance the sweet. Apple cider vinegar works too in a pinch.* **Water or Chicken Broth:** A quarter cup. Broth adds a bit more flavor depth, but water is totally okay.* **Cornstarch:** 1 tablespoon. This is key for thickening the sauce.* **Sesame Oil:** 1 teaspoon (toasted or regular, toasted has more flavor!).* **Cooking Oil:** A tablespoon or two for searing. Veggie, canola, whatever neutral oil you have.* **Optional garnish:** Green onions, sesame seeds. Totally not required but they look pretty.* **Salt and Pepper:** To taste, for seasoning the chicken before searing.
Let’s Get Cooking
Right, deep breaths, this is easy peasy. Get yourself ready!
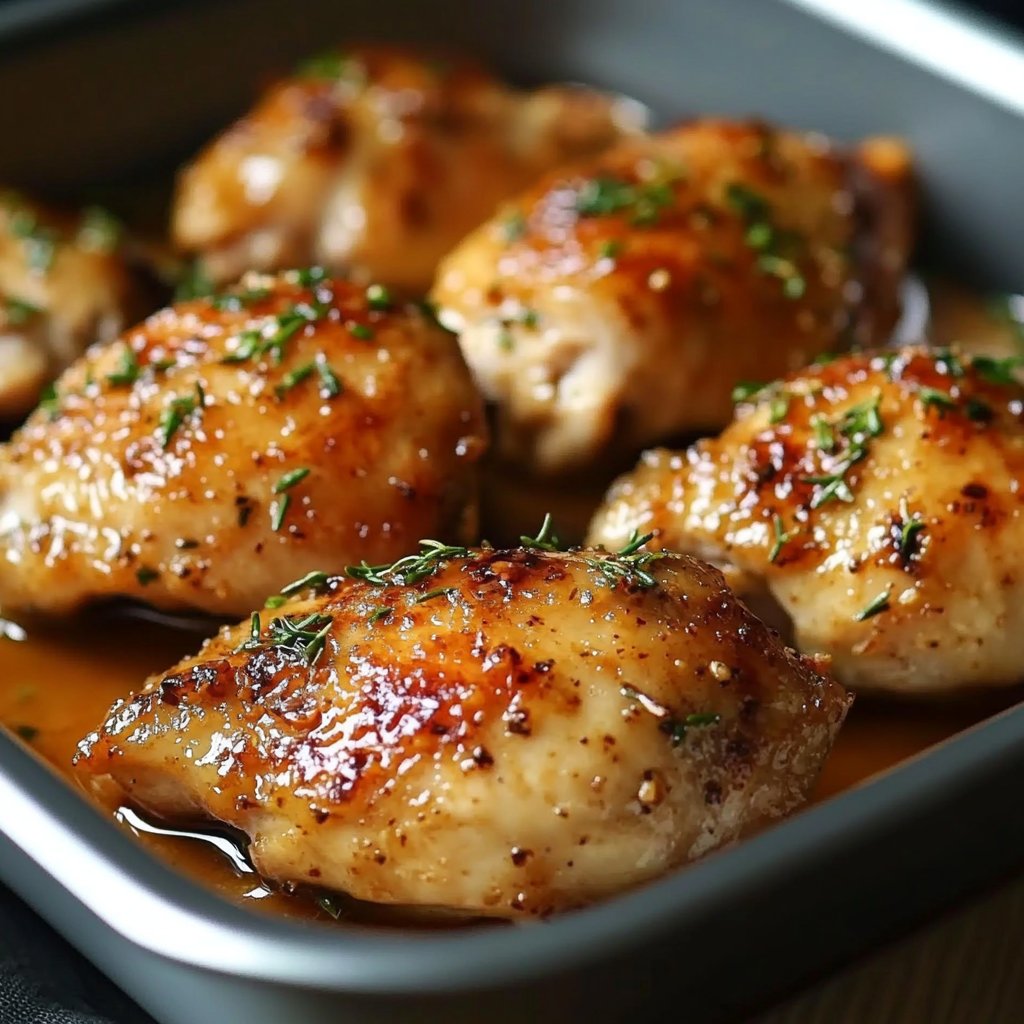
1. **Prep the chicken:** Pat those chicken thighs dry with paper towels. This is a little thing but it helps them get a nice sear! Season ’em generously with salt and pepper.2. **Make the sauce:** In a medium bowl, whisk together the minced garlic, brown sugar, soy sauce, rice vinegar, water (or broth), cornstarch, and sesame oil. Just give it a good mix ’til the corn sugar dissolves. Don’t worry if it looks a bit weird at this stage it always does!3. **Sear the chicken:** Heat the cooking oil in a large skillet or Dutch oven over medium-high heat. Once shimmering, add the chicken thighs in a single layer. Don’t overcrowd the pan – cook in batches if you need to. Sear for 3-4 minutes per side until they’re golden brown and crispy (if using skin-on). This step is important for flavor!4. **Add the sauce:** Once the chicken is seared, pour that glorious sauce mixture right over the top.5. **Simmer away:** Bring the sauce to a gentle simmer, then reduce the heat to low, cover the pan, and let it cook. This is where the magic happens. For boneless, skinless thighs, cook for about 15-20 minutes, flipping halfway. For bone-in thighs, it’ll take more like 25-30 minutes, maybe a tad longer, until the chicken is cooked through (internal temp should be 165°F or 74°C). The sauce will thicken as it simmers.6. **Finish it off:** If the sauce isn’t as thick as you like, remove the chicken to a plate, crank the heat a little, and let the sauce bubble uncovered for a minute or two more, stirring constantly, until it’s reduced and glossy. Then nestle the chicken back in to coat it completely.7. **Serve!** Garnish with green onions and sesame seeds if you’re feeling fancy. Time to eat!
Stuff I Figured Out
* **Garlic is Key:** Seriously, don’t skimp on the garlic. I tried reducing it once and it just wasn’t the same punchy flavor.* **Sauce Thickness:** Sometimes the sauce gets *too* thick. If that happens, just stir in a tablespoon or two more water or broth until it’s the right consistency. Easy fix.* **Searing Matters:** Skipping the sear? Big mistake. It adds so much depth. Learned that the hard way.* **Chicken Thighs are Best:** Breast meat just dries out too easily with this cooking method, stick with the thighs for juicy results.
Feeling Adventurous?
So, I’ve messed around with this recipe a bit.
* **Spicy Version:** Add a pinch of red pepper flakes to the sauce mixture. Gives it a nice little kick!* **Ginger Boost:** Mince a teaspoon or two of fresh ginger and add it with the garlic in the sauce. Really elevates the flavor. This one was a winner.* **Different Protein?** I tried this once with pork tenderloin slices. Eh. It wasn’t bad, but the pork didn’t soak up the flavor quite like the chicken thighs do. Chicken reigns supreme here, folks.* **Veggie Boost:** You could probably toss in some broccoli florets or bell pepper strips during the last 10 minutes of simmering. I haven’t tried it myself, but seems like it could work.
Tools of the Trade
You don’t need much for this, which is great. A good, large **skillet** or a **Dutch oven** that can handle searing and simmering is pretty essential. A whisk for the sauce, some measuring cups and spoons, and a cutting board. Oh, and a good sharp knife for the garlic! If you don’t have a whisk, a fork works perfectly fine for mixing the sauce.
Keeping It Safe (If It Lasts)
Any leftovers? Pop them in an airtight container in the fridge. They should be good for 3-4 days. Though honestly, in my house it never lasts more than a day! This stuff gets gobbled up fast. Reheats nicely in the microwave or on the stove.
What to Serve With It
My go-to is always steamed rice. That sticky sauce over fluffy rice? Perfection. I usually add a simple steamed green veggie on the side too, like broccoli or green beans, just to feel a little healthy, you know? Sometimes, if I’m feeling fancy, maybe some quick cucumber salad. Rice is a must though.
Lessons Learned (So You Don’t Mess Up)
* **Don’t Rush the Simmer:** I once tried rushing this step and the chicken wasn’t tender and the sauce didn’t thicken properly. Low and slow is the way to go for maximum tenderness and flavor absorption.* **Get a Good Sear:** Like I said before, that initial browning is crucial. It adds a layer of flavor you just can’t replicate. If your pan isn’t hot enough, you’ll steam the chicken instead of searing it. Don’t do that!* **Check Your Sauce:** Taste and adjust! Sometimes I add a tiny splash more vinegar if it feels too sweet, or a pinch more salt. Recipes are guides, remember? Trust your taste buds! If you’re looking for tips on tasting and adjusting, I found this guide on America’s Test Kitchen helpful back in the day: [https://www.americastestkitchen.com/cooksillustrated/how_tos/6043-taste-and-adjust](https://www.americastestkitchen.com/cooksillustrated/how_tos/6043-taste-and-adjust)
Burning Questions?
* **Can I use chicken breast?** Yeah, you *can*, but I really don’t recommend it. It tends to dry out. If you insist, cut it into chunks or halve breasts horizontally to thin them, and reduce the simmering time significantly. Keep an eye on it so it doesn’t get tough.* **Is it really garlicky?** Yes, it’s definitely got a good punch of garlic flavor, especially form the fresh minced stuff. But the brown sugar and soy mellow it out, it’s not like raw garlic overpowering everything. It’s balanced!* **Can I make this ahead of time?** You could probably make the sauce ahead and store it in the fridge. But cooking the chicken right before serving is best for texture. Leftovers are great though!* **What if I don’t have rice vinegar?** Apple cider vinegar is your next best bet. Or white wine vinegar if you have that. You just need a little acid to balance the sweetness.* **Where do you buy your ingredients?** Oh, I usually just get everything at my regular grocery store. Nothing fancy needed! But hey, if you’re curious about different types of soy sauce or vinegars, this article from Serious Eats breaks it down pretty well: [https://www.seriouseats.com/guide-to-asian-vinegars](https://www.seriouseats.com/guide-to-asian-vinegars)
Anyway, that’s it! Give this Garlic Brown Sugar Chicken a whirl. I reckon you’ll love it as much as we do.