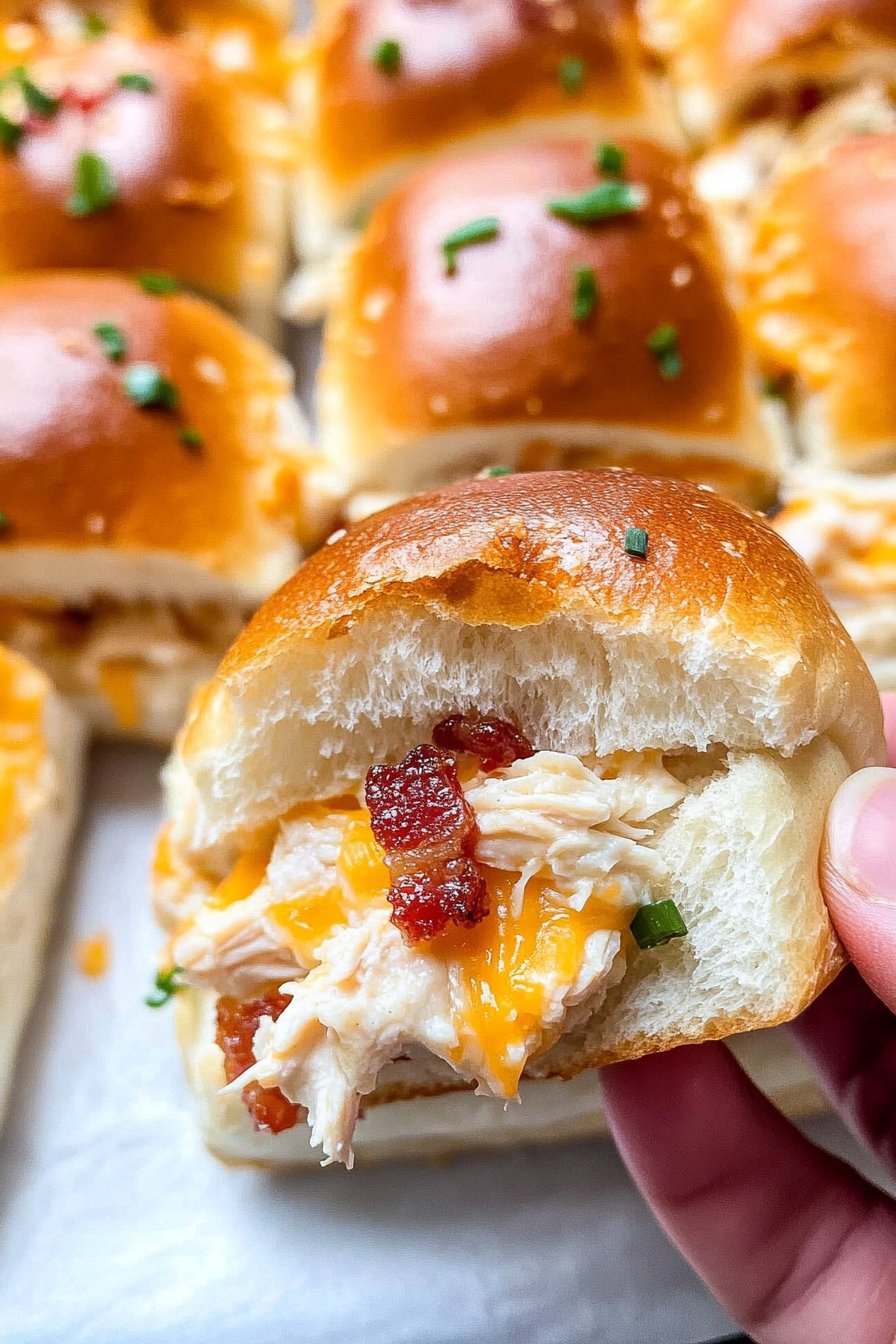
Chicken Bacon Ranch Sliders
Okay, Let’s Talk Sliders!
Right, confession time. I first made these Chicken Bacon Ranch Sliders for a Super Bowl party ages ago, mostly because I panicked and needed something easy that looked impressive. Didn’t expect much, honestly. But WOW. They disappeared faster than free beer! Now, they’re my go-to for pretty much any gathering, or sometimes just… Tuesday. They’re just that good, and thankfully, not complicated at all. Even my teenager, who usually just grunts in response to food, actually *asked* for these again. Success!
Why These Are My Jam (And Probably Yours Too)
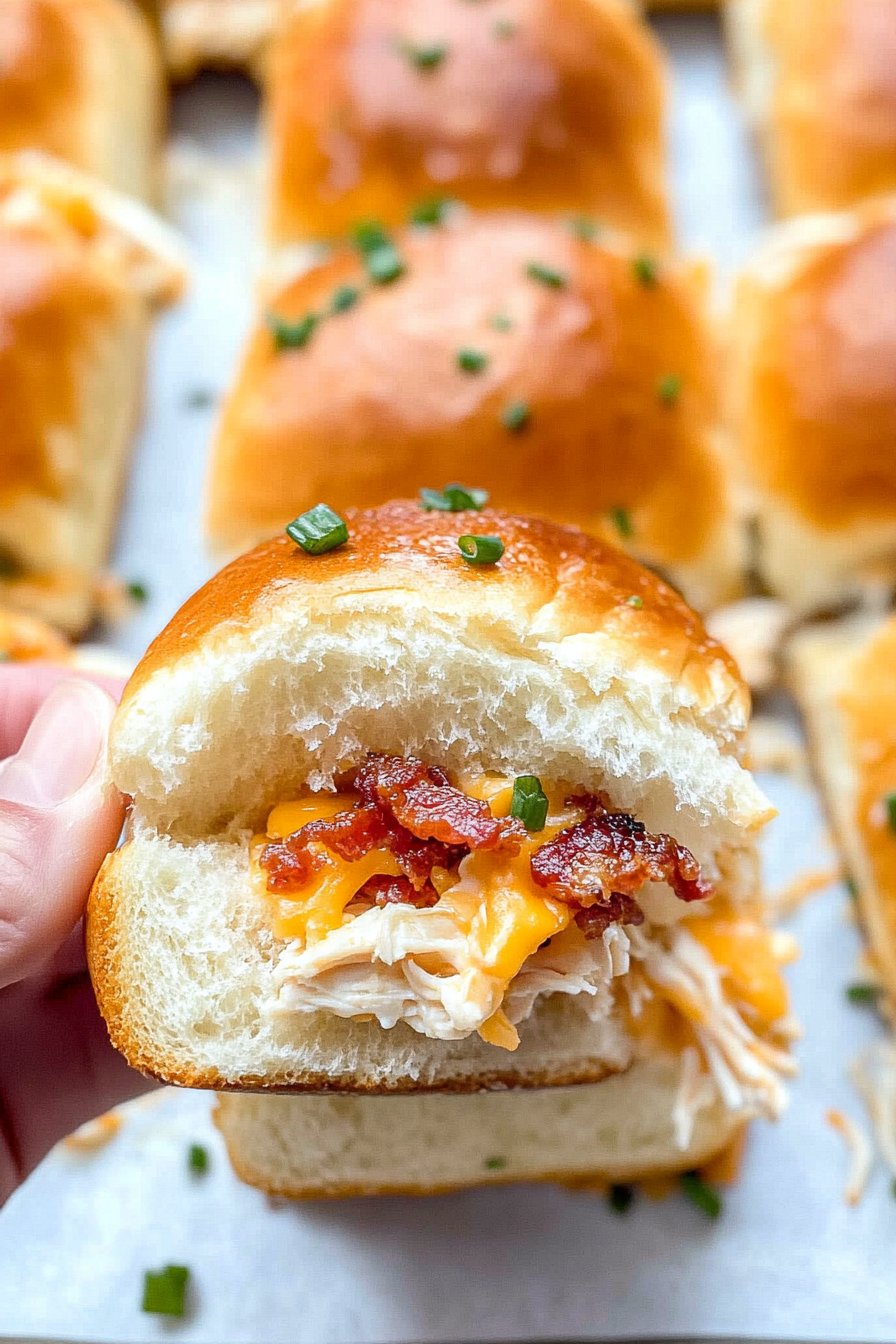
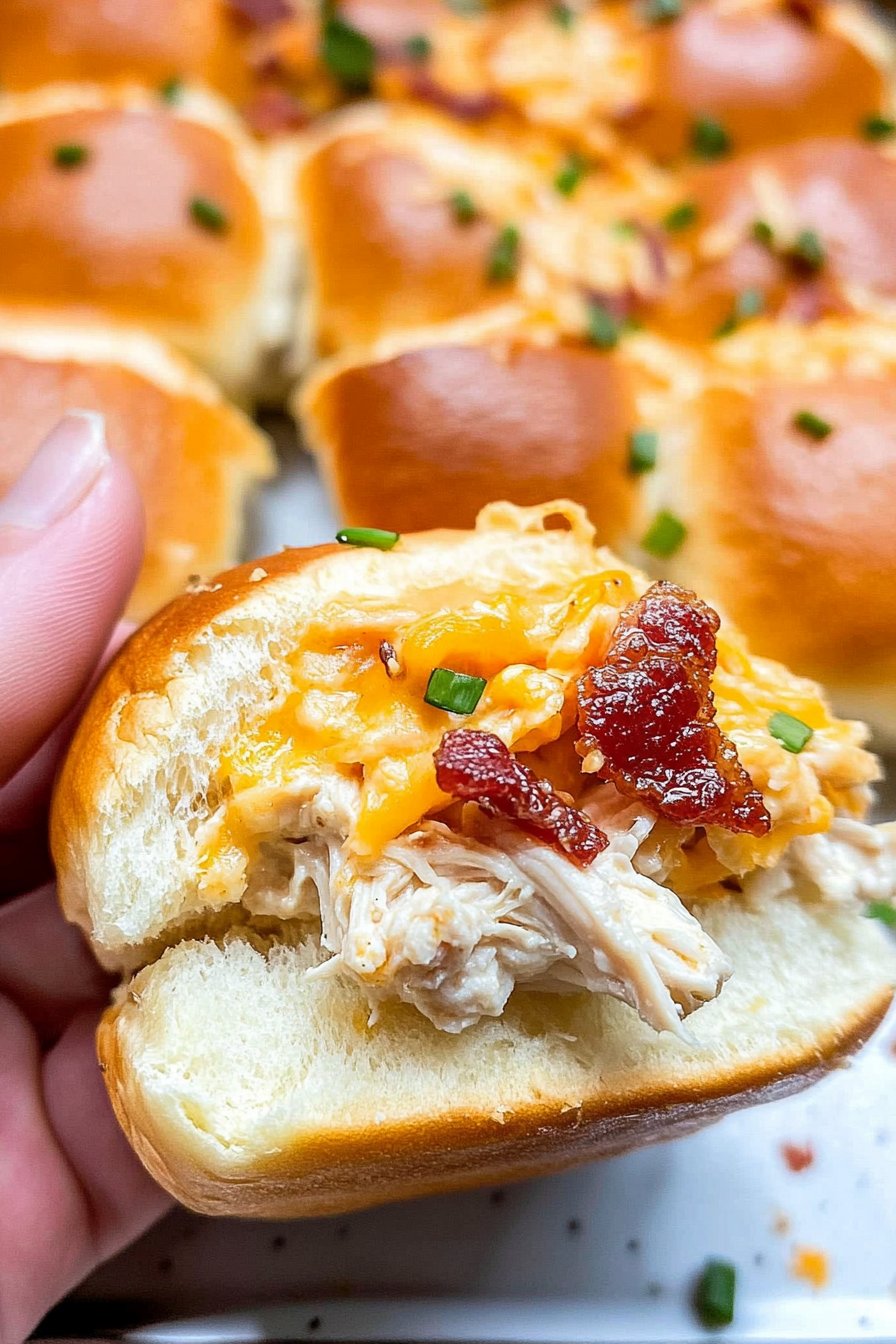
- Crowd Pleaser Supreme: Seriously, who doesn’t love chicken, bacon, AND ranch? It’s like the holy trinity of comfort food flavors, all snuggled in a soft little bun.
- Surprisingly Quick: Especially if you use leftover cooked chicken or grab a rotisserie chicken form the store (my favorite shortcut, shhh!). The assembly is super fast.
- Make Ahead Magic: You can prep most of it ahead of time, then just bake ’em off when you’re ready. Less stress when guests arrive is always a win in my book.
- That Buttery Topping Tho: Don’t skip the butter glaze on top. It takes them from yummy to *oh my goodness*. Trust me. It gets all golden and slightly crispy… mmm.
What You’ll Need (Give or Take)
Okay, here’s the rundown. Don’t stress too much about exact amounts for some things, cooking should be fun, right?
- Slider Buns: 1 package (12 count) sweet Hawaiian rolls are classic. Honestly, any small soft dinner rolls work. King’s Hawaiian is just… *chef’s kiss*. You can usually find them here or in most grocery stores.
- Cooked Chicken: About 2 cups, shredded or chopped. Rotisserie chicken is my MVP here. Leftover grilled chicken? Perfect. Even canned chicken works in a pinch, just drain it really well.
- Bacon: 6-8 slices, cooked nice and crispy, then crumbled. I usually bake my bacon on a sheet pan – less mess! Serious Eats has a good guide if you’ve never tried it.
- Cheese: 6 slices of provolone or Monterey Jack. Colby Jack is great too. Or just shred about 1.5 cups of whatever melty cheese you love. Cheddar can be a bit strong, but you do you!
- Ranch Dressing: 1/2 cup. Use your favorite bottled kind. Or if you’re feeling fancy, make homemade! My grandma swore by Hidden Valley, but any creamy one will do the job.
- Butter: 1/4 cup (half a stick), melted.
- Ranch Seasoning Mix: 1 tablespoon (from the packet, not the dressing). This adds an extra pop.
- Garlic Powder: 1/2 teaspoon (optional, but I love garlic).
- Dried Parsley: 1 teaspoon (mostly for color, makes ’em look fancy).
Let’s Get Cooking!
- Prep Time: First off, preheat your oven to 350°F (175°C). Grab a 9×13 inch baking dish. You *could* probably use a big cast iron skillet too, haven’t tried that yet though. Lightly grease the dish, just in case.
- Slice the Rolls: Okay, this is key. Keep the whole slab of rolls together. Don’t separate them! Use a big serrated knife (like a bread knife) to slice the entire sheet of rolls in half horizontally. Think giant hamburger bun. Place the bottom half in your prepared baking dish.
- Layer Up: Sprinkle half the cheese over the bottom buns. Then, mix your cooked chicken, crumbled bacon, and the ranch dressing together in a bowl. Just gently stir till combined. Spread this chicken bacon ranch mixture evenly over the cheese. Top with the remaining cheese slices (or shredded cheese). Pop the top half of the rolls back on. Easy peasy.
- The Glorious Topping: Melt the butter in a small bowl (microwave works fine). Stir in the ranch seasoning packet mix, garlic powder (if using), and dried parsley. Brush this mixture generously all over the tops of the rolls. Get in all the nooks and crannies! This is where the magic happens. Sometimes I add a tiny bit of onion powder too, depends on my mood.
- Bake ‘Em: Cover the dish loosely with aluminum foil. Bake for 15 minutes. Then, take the foil off and bake for another 5-10 minutes, or until the tops are golden brown and the cheese is all gooey and melted. Keep an eye on them so they don’t get *too* brown.
- Serve!: Let them cool for just a couple of minutes (if you can stand it!). Then use a knife or spatula to cut them apart following the lines of the rolls. Serve ’em up warm!
Little Notes I’ve Made Along the Way
- Sometimes the chicken mixture seems a little dry before baking, especially if your chicken *was* dry. Don’t worry! The ranch and cheese add plenty of moisture as it bakes. It always works out.
- If you use shredded cheese instead of slices, sometimes it melts down the sides more. Not a bad thing, just different! Creates little crispy cheese bits on the edge of the pan… yum.
- Make sure your bacon is genuinely crispy. Soggy bacon is just sad in sliders.

Fun Twists I’ve Tried
You know me, I can’t leave well enough alone!
- Spicy Kick: Add a few shakes of hot sauce to the chicken mixture, or layer some pickled jalapeños on top of the chicken before the cheese. Downright delicious!
- Different Cheese: Smoked gouda? Pepper jack? Go wild. Gruyere was pretty awesome too, actually.
- Onion Lover: Sometimes I add some very thinly sliced red onion on top of the chicken layer. Adds a nice bite.
- What Didn’t Work: Okay, so I once tried adding chopped pickles into the chicken mix thinking it’d be like a dill pickle ranch vibe? Yeah… not my best idea. Made things kinda watery and the flavor was just… off. Stick to the classics here maybe, haha.
Equipment Stuff
Nothing fancy needed! A 9×13 baking dish is pretty standard. If you don’t have one, maybe two 8×8 pans would work? Or like I said, maybe a large oven safe skillet. You definitely need a decent knife for slicing the rolls though, a flimsy one makes it tricky.
Oh! And a brush for the butter topping. A silicone one is great, but honestly, you can just carefully spoon it over and spread with the back of the spoon if you don’t have one.
Storing the Leftovers (If Any!)
These are best fresh and warm, obviously. But, leftovers aren’t bad! Store them in an airtight container in the fridge. They’ll keep for maybe 2-3 days? Though honestly, in my house they never last more than a day! Reheat gently in the oven or toaster oven to get them slightly crispy again. Microwaving works but they get a bit soft.
How We Like to Eat ‘Em
We usually just devour these as is! They’re great for game day spreads with chips and dip, maybe some veggie sticks (to pretend we’re being healthy?). Sometimes for a super casual dinner, I’ll serve them with a simple side salad or some potato wedges.
Pro Tips (Learned the Hard Way)
- Don’t overcook the bacon initially! Remember it gets baked again in the sliders, so aim for perfectly crisp, not burnt.
- Seriously, don’t separate the rolls before slicing horizontally. It makes life SO much easier to keep them as one big block. I once tried doing them individually… never again.
- Let them cool for a minute or two before cutting. Molten cheese lava is real, folks. Plus, they hold together better if they sit briefly. I once tried rushing this step form impatience and regretted it because they just sort of fell apart.
Your Questions Answered (Probably!)
Can I use different rolls?
Totally! Any small, soft dinner roll works. Potato rolls, regular white dinner rolls… go for it. The sweetness of the Hawaiian rolls is nice with the savory fillings, but experiment!
Can I make these ahead?
Yes! Assemble them completely (up to the butter topping step), cover tightly, and refrigerate for up to 24 hours. When ready to bake, add the butter topping and bake as directed, maybe adding a few extra minutes since they’re starting cold.
Help, my rolls got soggy on the bottom!
Hmm, that can happen if maybe your chicken mixture was *too* wet (did you drain the chicken well if using canned?) or if they sat too long after assembly before baking. Try not to let them sit fully assembled for *hours* at room temp. Also ensure your oven is fully preheated!
Can I freeze them?
I haven’t had great luck freezing the fully assembled *baked* sliders – the rolls get kinda weird textured upon reheating. You *could* maybe freeze the chicken/bacon/ranch mixture itself, then thaw and assemble with fresh rolls later? Might be worth a try!

