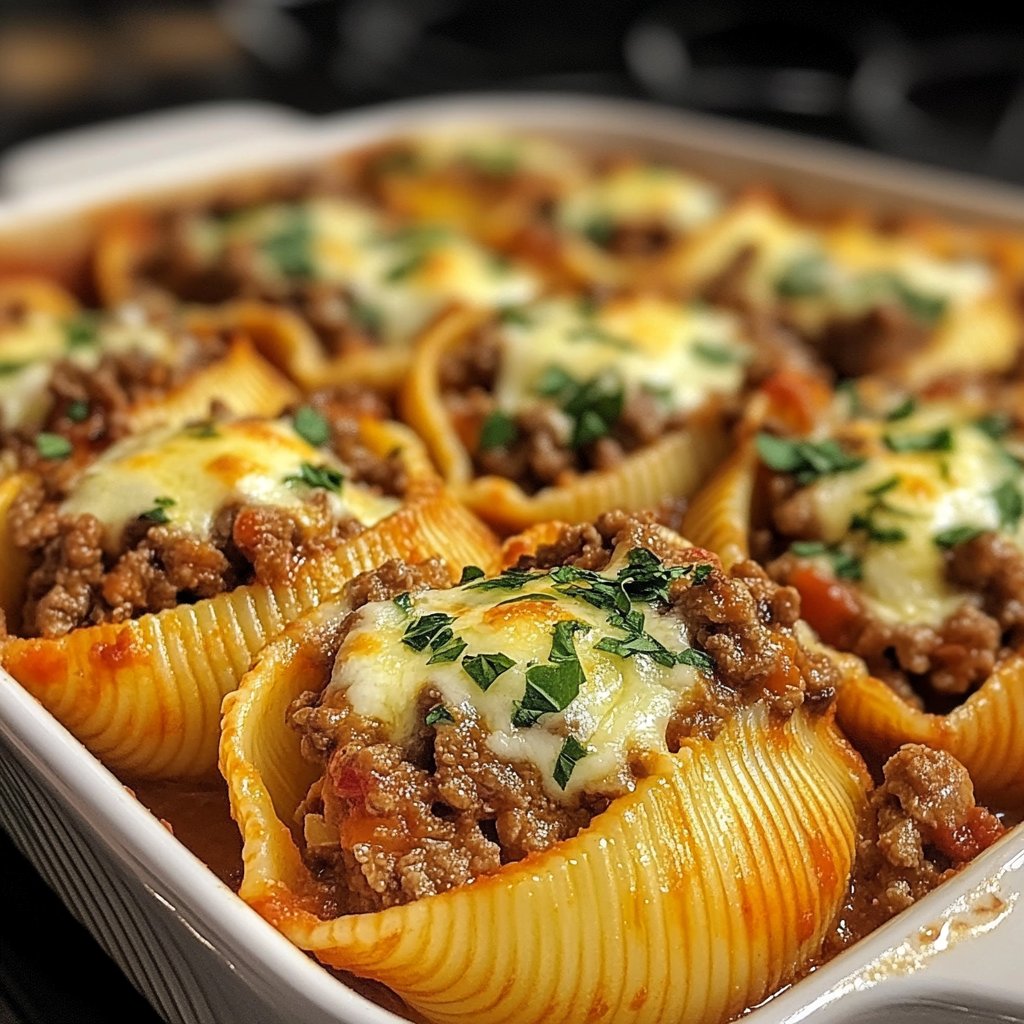
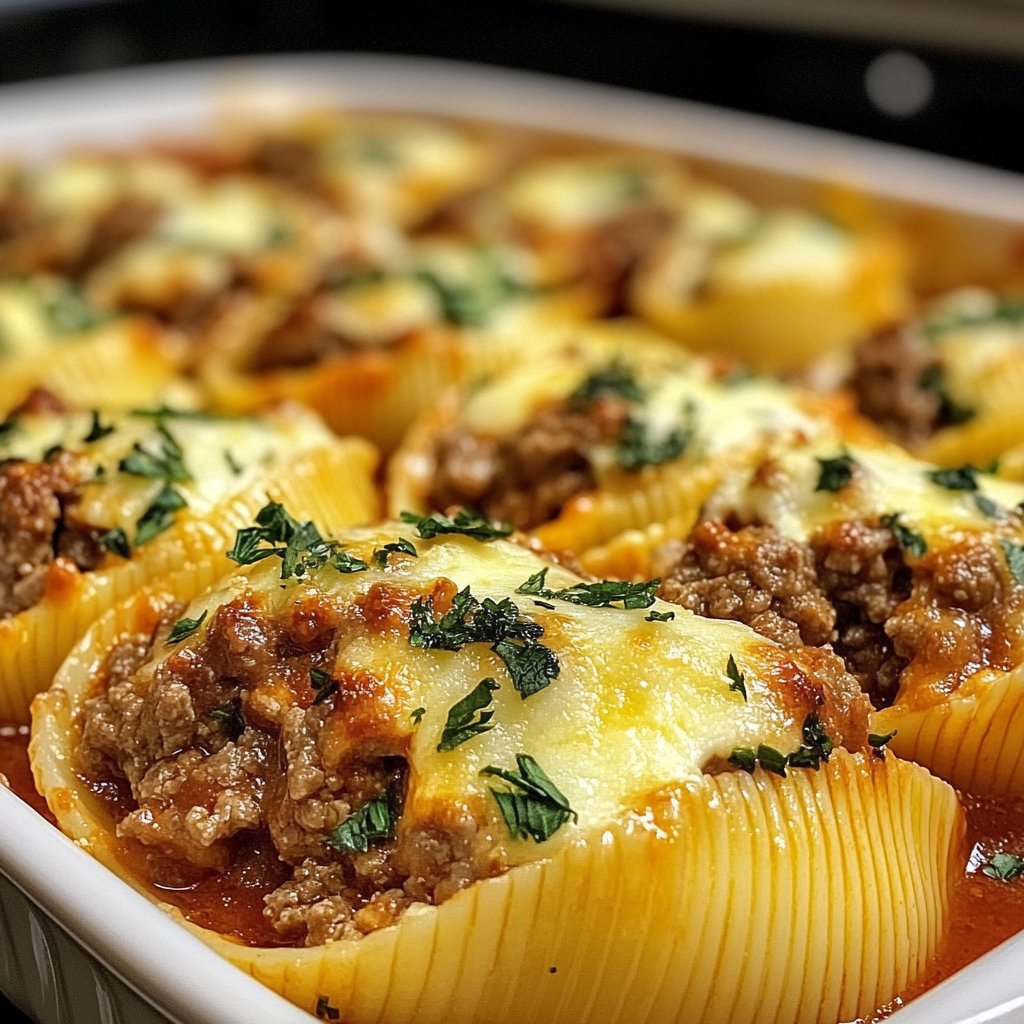
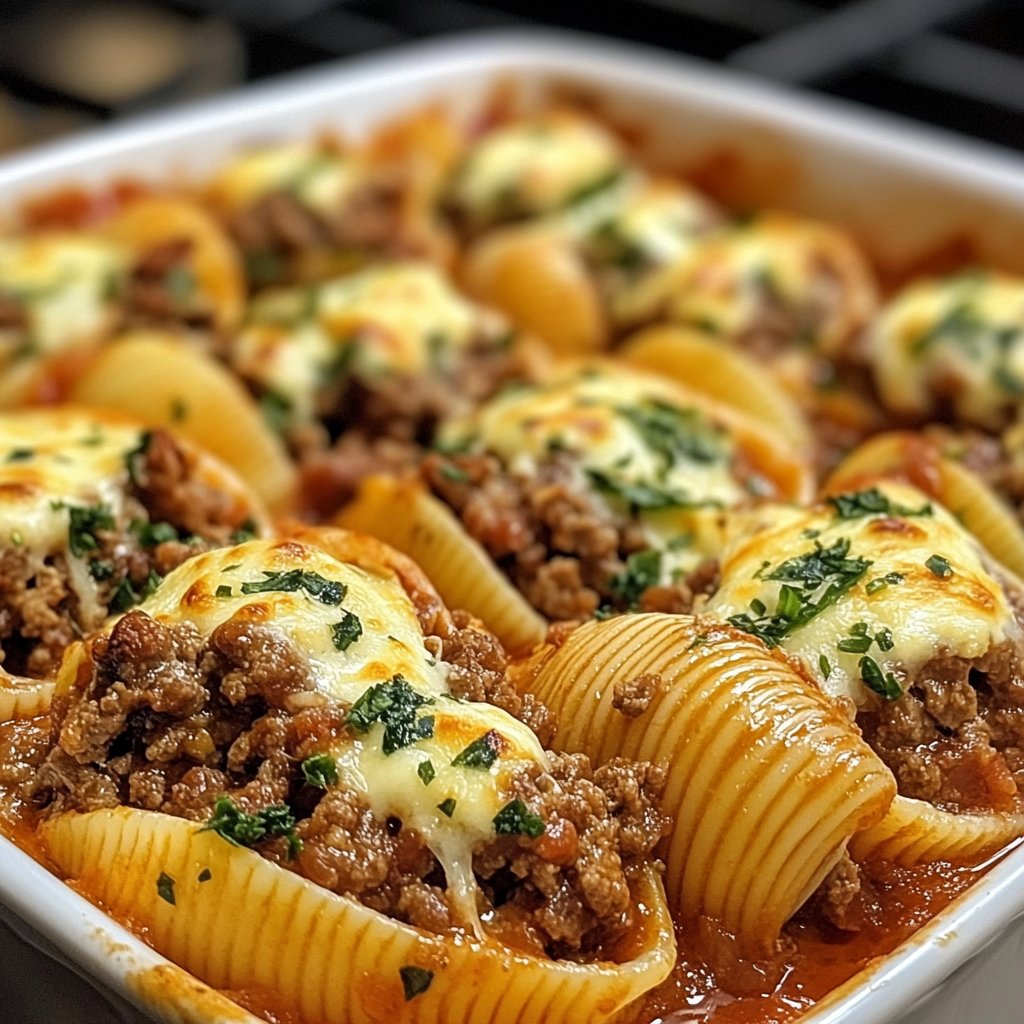
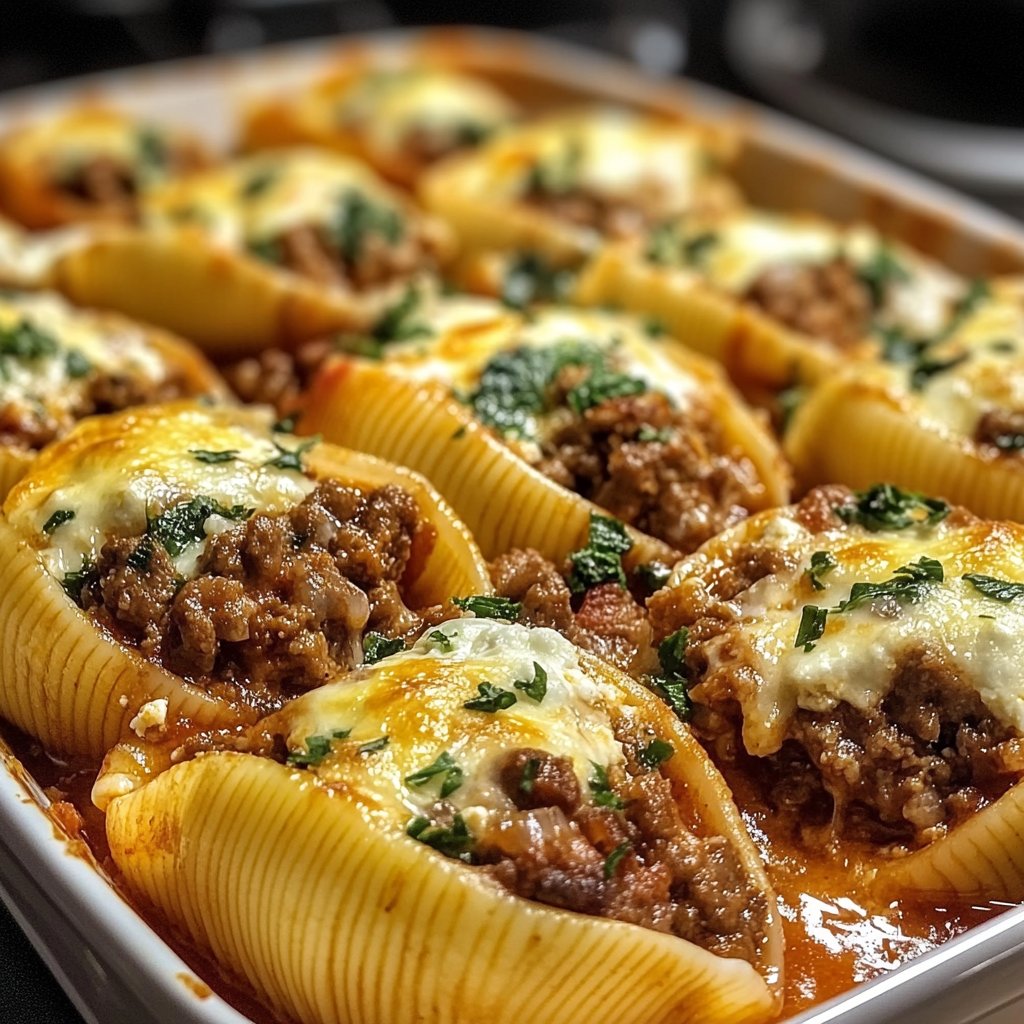
Beef-Stuffed Shells with Creamy Ricotta Filling
Hey There, Friend! Let’s Make Some Shells
Okay, gather ’round! I want to tell you about this pasta dish that’s just… it’s everything. You know those days? The ones where it’s maybe a bit chilly outside, or you just had *one of those days*, and you need a hug in food form? Yeah, this Beef-Stuffed Shells with Creamy Ricotta Filling situation? That’s it. This recipe reminds me of big family dinners, the kind where everyone’s talking over each other and laughing, and someone inevitably spills the gravy. My Aunt Carol used to make something similar, though hers had like, three types of meat. Mine’s a *little* simpler, but just as cozy. It’s a bit of a project, I won’t lie, but oh man, the payoff is huge.
So, Why Bother Making These?
Why *wouldn’t* you? Seriously though. I make this when I know we need leftovers because it reheats like a dream. My family goes absolutely bonkers for this because, well, hello? It’s giant pasta shells stuffed with savory beef and ridiculously creamy, cheesy ricotta and then baked in sauce until bubbly. What’s not to love? It’s comfort food personified. Plus, it makes the house smell amazing while it bakes. (Total bonus points there, right?). It’s also secretly quite forgiving. Mess up a little? Probably nobody will notice once it’s smothered in sauce and cheese.
Okay, What Stuff Do You Need?
Here’s the lowdown on the ingredients. Nothing too fancy, just good, honest stuff.
- About 1 pound (or maybe 500g-ish?) of jumbo pasta shells. Don’t get the small ones, gotta be jumbo for stuffing!
- 1 to 1.5 pounds of ground beef. I usually go for 80/20, has good flavor.
- A large jar (like 24-32 ounces) of your favorite marinara sauce. Or, if you’re feeling ambitious, your own homemade stuff is awesome! (Here’s a good basic recipe if you’re curious). Sometimes I use a chunky vegetable marinara if I’m trying to sneak in extra veggies.
- 1 (15-ounce or 425g) container of whole milk ricotta cheese. Please, please, please use whole milk. It’s so much creamier. My grandmother always insisted on Sorrento, but honestly any version works fine as long as it’s not non-fat (blech).
- 1 large egg. Helps bind the filling together.
- About 1/2 cup of grated Parmesan cheese. The real stuff, if you can swing it. Adds that salty kick.
- Maybe 1 cup (or a generous handful) of shredded mozzarella cheese for the filling.
- Another 1.5 to 2 cups of shredded mozzarella cheese for the top. Because more cheese is always the answer.
- Salt and black pepper to taste.
- A little olive oil for cooking the beef.
- Optional but nice: A pinch of red pepper flakes for the sauce or beef, a teaspoon of dried Italian herbs (like oregano, basil, thyme) for the filling.
Let’s Get Cooking, Shall We?
Right, deep breaths! It’s easier than it looks.
- First things first, get a big pot of water boiling for the pasta. Add a good amount of salt. Cook the shells according to the package directions, but pull ’em out a couple of minutes before they’re *totally* done. Al dente is your friend here, because they’re gonna bake later. Drain them and rinse them with cold water so they don’t stick together. Drizzle just a tiny bit of olive oil over them in the colander and toss gently. Set aside.
- While the pasta’s doing its thing, brown the ground beef in a large skillet over medium heat. Break it up with a spoon. Cook until it’s totally browned and no pink is left. Drain off most of the fat – I leave just a *tiny* bit for flavor, but that’s just me.
- Once the beef is browned, pour your marinara sauce right into the skillet with the beef. Stir it all up and let it simmer gently for about 10-15 minutes. This lets the flavors meld. Add salt, pepper, and those red pepper flakes if you like things a bit spicy. This is where I usually sneak a taste of the sauce and *maybe* a little beef. Quality control, you know?
- Now for the filling! In a medium bowl, mix together the ricotta cheese, that one egg, the Parmesan cheese, the cup of mozzarella for the filling, and any dried herbs you’re using. Season with salt and pepper. Don’t overmix, just get it combined.
- Okay, assembly time! Pour about half of your beef and sauce mixture into the bottom of a 9×13 inch baking dish. Spread it out evenly.
- Now for the stuffing part. This is where it gets a little messy, but fun! Take each cooked shell and spoon or gently push some of the ricotta filling into it. Then, tuck a little bit of the beef/sauce mixture into there too. (You can mix the beef/sauce *into* the ricotta, but I like having separate layers inside the shell, it’s up to you!). Fill all the shells and arrange them in a single layer over the sauce in the baking dish. Don’t worry if it looks a bit weird at this stage – it always does!
- Pour the remaining beef and sauce mixture over the stuffed shells. Make sure they’re mostly covered.
- Sprinkle the rest of the shredded mozzarella cheese (the 1.5-2 cups) all over the top. Get it right to the edges!
- Cover the baking dish tightly with foil. Pop it into a preheated oven at 375°F (190°C).
- Bake for 20 minutes covered, then remove the foil and bake for another 15-20 minutes, or until the cheese is melted, bubbly, and slightly golden in spots.
- Let it sit for 5-10 minutes before serving. This helps everything set up and stops you from burning your tongue off!
Stuff I’ve Learned (Trial and Error!)
Okay, so here are some notes from my own kitchen adventures with this dish:
- **Shell Doneness:** Seriously, err on the side of *under*cooking the shells slightly. If they’re mushy going in, they’ll be disintegrating coming out of the oven.
- **Stuffing Technique:** I used to try using a spoon and it was a nightmare. Actually, I find it works better if I just use my fingers to kinda open the shell and push the filling in. It’s faster, though messier. Worth it.
- **Sauce Thickness:** If your jarred sauce seems really thick, you can add a splash of water or beef broth to the pan when you’re simmering it with the beef. You want it saucy enough to coat everything nicely.
- **Cheese Mix:** I sometimes use a mix of mozzarella and provolone on top. Gives it a nice sharp bite!
Tried Any Variations?
Oh yeah, I’ve messed around a bit. Swapping half the ground beef for ground Italian sausage? *Chef’s kiss*! So good. Adding some finely chopped onion and garlic to the beef while browning is also a winner (learn how to brown ground beef just right here!). I tried adding chopped mushrooms and bell peppers to the sauce once. It was okay, but honestly, the family prefers it without the veggies mixed into the sauce for this particular dish. Sometimes simple is best.
What Equipment Do You Need?
You’ll need a big pot for the pasta, a large skillet for the beef and sauce, a bowl for the filling, and that 9×13 inch baking dish. A big spoon is helpful for stirring and stuffing, though like I said, fingers work too! If you *wanted* to be fancy, you could use a piping bag for the ricotta filling, but that’s totally overkill. Spoon or fingers are perfectly fine.
Storing Leftovers (If You Even Have Any!)
Let it cool completely, then cover the dish tightly with plastic wrap and then foil, or transfer to airtight containers. It’ll keep in the fridge for 3-4 days. Though honestly, in my house it never lasts more than a day! You can also freeze individual portions or the whole dish before baking. If freezing raw, thaw overnight in the fridge before baking. If freezing baked, thaw and reheat gently in the oven or microwave.
Serving It Up
My go-to is serving this with some crusty garlic bread (store bought is fine, no judgment here!) and a simple green salad with a vinaigrette. A glass of red wine is also pretty much mandatory in my book. Makes for a really satisfying meal.
A Couple Pro Tips Form My Kitchen Fails
- **Don’t Undercook Shells:** Okay, I know I said don’t *over*cook, but don’t undercook so much they’re hard in the middle either! Find that al dente sweet spot. I once tried rushing this step and regretted it because some shells were chewy.
- **Let it Rest:** Giving the dish 5-10 minutes after baking makes a huge difference. The filling settles, and the sauce thickens just slightly. Patience, padawan.
- **Good Ricotta:** Seriously, spring for the whole milk ricotta. It’s night and day compared to part-skim or fat-free. (Tips on picking good ricotta here!).
Hey, You Got Questions? I Got Answers (Maybe!)
Here are a few things people ask me about this dish:
Q: Can I make this ahead of time?
A: Absolutely! You can assemble the whole thing, cover it tightly, and keep it in the fridge for up to 24 hours before baking. You might need to add 10-15 minutes to the covered baking time if it’s going in cold form the fridge.
Q: What if I don’t have jumbo shells?
A: Hmm, well, you could use manicotti instead, the long tubes? The filling method is the same. Lasagna noodles work too, you just spread the filling and roll ’em up. But honestly, the shells are the most fun!
Q: Can I use a different meat?
A: Yup! Ground sausage (sweet or spicy) is fantastic. Ground turkey or chicken work too, but you might need to add a little extra olive oil as they’re leaner, and perhaps a touch more seasoning to amp up the flavor.
Q: My ricotta filling seems… runny?
A: That can happen sometimes, depends on the brand! Make sure you drain any excess liquid form the ricotta before mixing. Adding an extra sprinkle of Parmesan or a little breadcrumb can sometimes help firm it up, but honestly, once it bakes it usually sets up fine.
Anyway, hope you give these a whirl! Let me know how they turn out. Happy cooking, y’all!