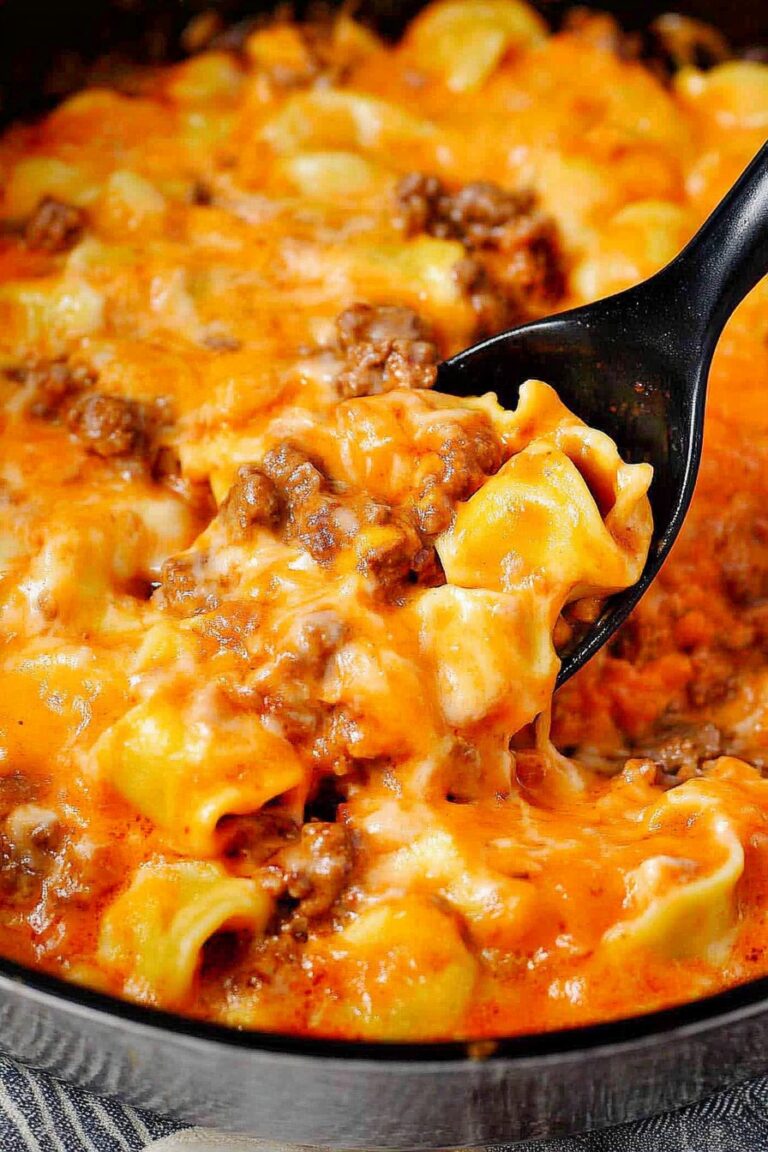
Meaty Texas Trash Dip
Okay Y’all, Let’s Talk Trash… Dip!
Alright, so confession time. I first heard of “Texas Trash Dip” and thought, nope. Hard pass. Sounds, well, trashy! But let me tell you, once I actually *tried* a bite, specifically the meaty version my cousin Brenda brought to a potluck way back when, I was hooked. Totally and completely hooked. It’s one of those dips that disappears before you even get a second cracker loaded up, you know? We make this every single time there’s a game on, or a holiday get-together, or frankly, just a Tuesday that feels like it needs some serious comfort food. It’s just that good, really.
Why This Dip is My Go-To
Honestly, I make this when I need a guaranteed crowd-pleaser that doesn’t require fancy ingredients or any complicated steps. My family goes completely bonkers for this because it’s savory, it’s cheesy, and it’s got that satisfying meaty bite. Plus (and this is a big plus for me!), it’s mostly hands-off once it hits the oven. You just stir things together, pop it in, and magic happens. It’s also incredibly forgiving; I’ve thrown in whatever odds and ends of cheese I had in the fridge and it still turned out great. It’s like the culinary equivalent of a cozy blanket on a chilly day, but, you know, you eat it.
Gather ‘Round for Ingredients!
Here’s what you’ll need. Don’t stress too much about perfect measurements, seriously. Just eyeball it a bit, especially the cheese!
- 1 pound (about 450g) ground beef: Or ground turkey if you’re feeling slightly healthier, but beef gives it that classic richness.
- 1 large onion: Chopped up kinda fine. Or maybe two small ones. Whatever you have!
- 1 packet (about 1.25 oz or 35g) taco seasoning: Use your favorite brand! Old El Paso is a classic for a reason, but store brand is totally fine too.
- 1 can (15 oz or 425g) refried beans: The traditional kind, not the fancy black bean ones for this recipe, okay? Just plain and simple.
- 1 can (10.5 oz or 300g) condensed cheddar cheese soup: Don’t judge! This is key to the creamy, slightly trashy (in the best way) texture. Cream of mushroom or chicken soup *could* work in a pinch, but cheddar cheese soup is the ticket here.
- 1 container (8 oz or 225g) sour cream: Full fat, lite, whatever floats your boat.
- 1 can (4 oz or 113g) diced green chilies: Mild or hot, depending on how much heat you like. I usually go mild so everyone can enjoy it.
- About 2 cups (about 200g) shredded cheddar cheese: Or a Mexican blend! Honestly, any melty cheese works. Monterey Jack, Colby, a mix… use up those cheese ends!
- Optional toppings: Chopped fresh cilantro, diced tomatoes, sliced black olives, extra sour cream.

How to Get This Fixin’ Done
Okay, let’s cook!
- Preheat your oven to 350°F (175°C). Find a good sized baking dish – like a 9×13 inch or something similar.
- Brown your ground beef in a large skillet over medium heat. Break it up as it cooks. Drain off any excess grease. Like, really drain it well. Nobody wants a greasy dip.
- Add the chopped onion to the skillet with the beef. Cook until the onion is soft and translucent, maybe 5-7 minutes. This is where things start smelling reeeal good.
- Stir in the taco seasoning according to packet directions, usually with a little bit of water. Let it simmer for a minute or two until the liquid thickens up.
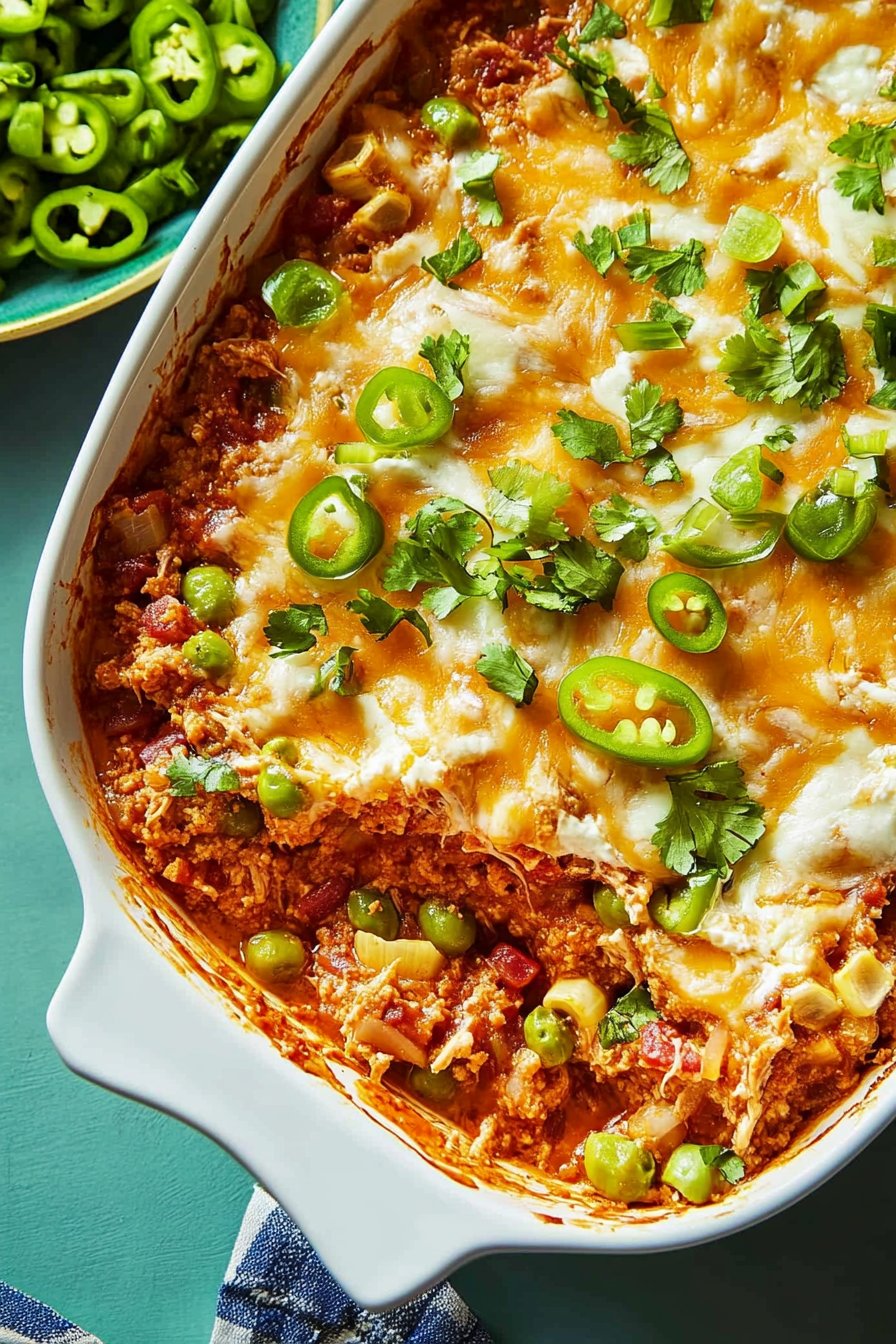
- Now, in a big bowl (or you can just do this right in the skillet if it’s big enough and you hate washing extra dishes like me!), combine the seasoned beef mixture, refried beans, condensed cheddar soup, sour cream, and diced green chilies. Stir it all up until everything is well combined. It’ll be thick and maybe not the prettiest thing you’ve ever seen, but trust the process!
- Pour the mixture into your prepared baking dish and spread it out evenly.
- Sprinkle all that glorious shredded cheese over the top. Don’t be shy! Cover edge to edge.
- Bake in the preheated oven for 20-25 minutes, or until the dip is bubbly around the edges and the cheese on top is melted and maybe a little golden brown. Sometimes it takes a little longer depending on your oven, just keep an eye on it.
- Let it sit for just a few minutes before serving. It’s going to be super hot!
Stuff I’ve Learned Along the Way (Notes!)
So, I’ve messed this up a few times, and here’s what I figured out. Using too lean of beef means you lose some flavor, but not draining enough grease is just… gross. Also, make sure your sour cream is room temp-ish, or it can make the dip a little lumpy when you stir it in. Oh, and really press the refried beans into the mixture, those little clumps can be stubborn!
Mixing It Up – Some Variations
I’ve played around with this a bit. Adding a can of Rotel (diced tomatoes and green chilies) adds another layer of flavor, but sometimes it makes the dip a little too watery for my taste. You could try adding some cooked, crumbled bacon to the top with the cheese? Yeah, that’s probably delicious. One time I tried adding corn and black beans, thinking it would be like a Southwestern twist, but honestly, it just didn’t feel right. Stick to the core ingredients, maybe add the Rotel if you’re feeling brave. This site has tons of dip ideas if you wanna explore other things too.
What You’ll Need (Equipment)
Really, you just need a good skillet to brown the meat and a baking dish. And a big spoon for stirring! If you don’t have a 9×13, a couple of smaller dishes work, or even a cast iron skillet you can bake right in (just make sure it’s oven-safe!).
Leftovers? (If Such a Thing Exists)
Ha! Leftovers of this are a rare and beautiful sight in my house, but if you do have some, just cover the baking dish tightly with plastic wrap or foil and pop it in the fridge. It keeps for 3-4 days. Reheat gently in the microwave or cover and warm up in the oven. It’s actually really good the next day, the flavors just kinda meld together.
Serving Suggestions
Okay, essential serving vessels: Tortilla chips. Duh. The sturdy kind, not the thin fragile ones that break off in the dip, that’s just frustrating. Fritos are also ridiculously good with this. Some folks like serving it with crackers or even veggie sticks, but chips are where it’s at for me. We always have a bowl of extra sour cream, some chopped cilantro, and sometimes pickled jalapeños on the side for folks to customize their scoop.
Pro Tips (So You Don’t Make My Mistakes)
Okay, biggest lesson learned? Don’t undercook the onions; they add so much flavor base. Also, I once tried rushing the simmer time after adding the taco seasoning, and it was just… less flavorful. Let it bubble for those couple of minutes! And honestly, buying pre-shredded cheese is a huge time saver, even if some foodies say it’s inferior; for a baked dip like this, its totally form.
Questions You Might Have (FAQ Time!)
Q: Can I make this ahead of time?
A: Yep! You can mix everything together (steps 1-6) and keep it covered in the fridge for up to a day before baking. Just might need an extra few minutes in the oven.
Q: Is this dip really spicy?
A: Nah, not usually! The heat comes mostly form the taco seasoning and green chilies, and you can control that. Use mild stuff and it’s super kid-friendly. Want more kick? Add a pinch of cayenne or use hot chilies.
Q: What kind of refried beans are best?
A: Just the plain old traditional kind. The ones with lard are classic for flavor, but vegetarian ones work fine too. Stay away from the chunky or flavored ones for this specific recipe though, kinda messes with the texture.
Q: My dip looks a little… oily?
A: Did you drain the beef really well? That’s usually the culprit. Next time, drain it super thoroughly! Sometimes you can gently dab the top with a paper towel after it bakes, but draining is key.
Hope y’all love this Meaty Texas Trash Dip as much as we do! Let me know if you try it!
Want more easy recipe ideas? Check out The Pioneer Woman’s appetizer section, she’s got some good stuff.

