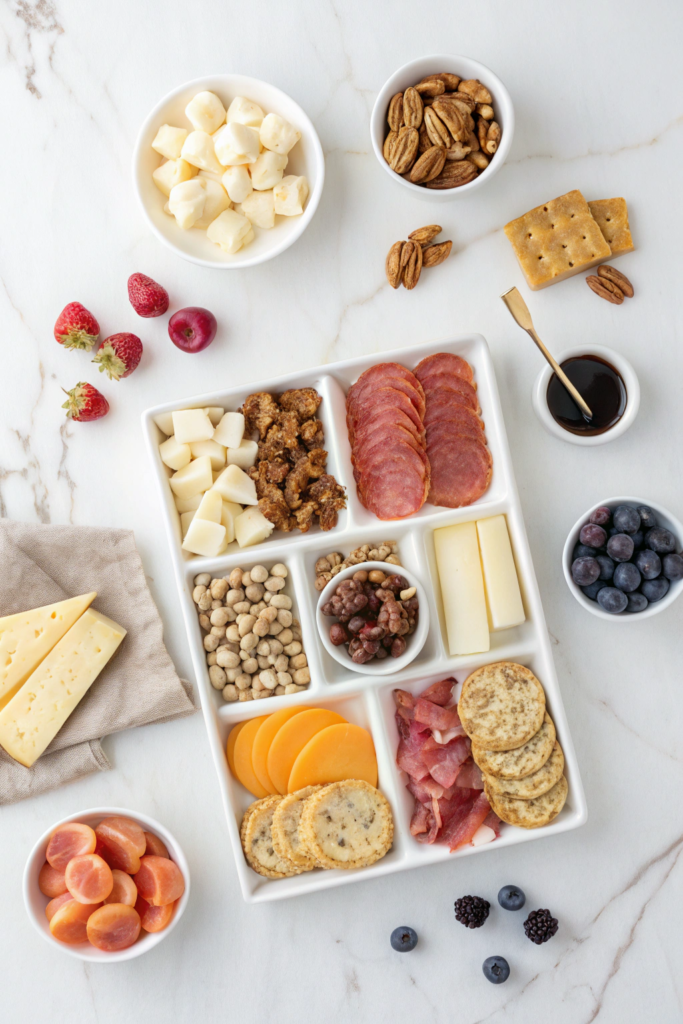
6 Steps to a Perfect Charcuterie Board
The art of assembling a stunning charcuterie board has become more than just party preparation – it’s a creative expression that delights both the eyes and palate. Whether you’re hosting an intimate gathering or preparing for a grand celebration, mastering these six essential steps will help you create a board that’s sure to impress.
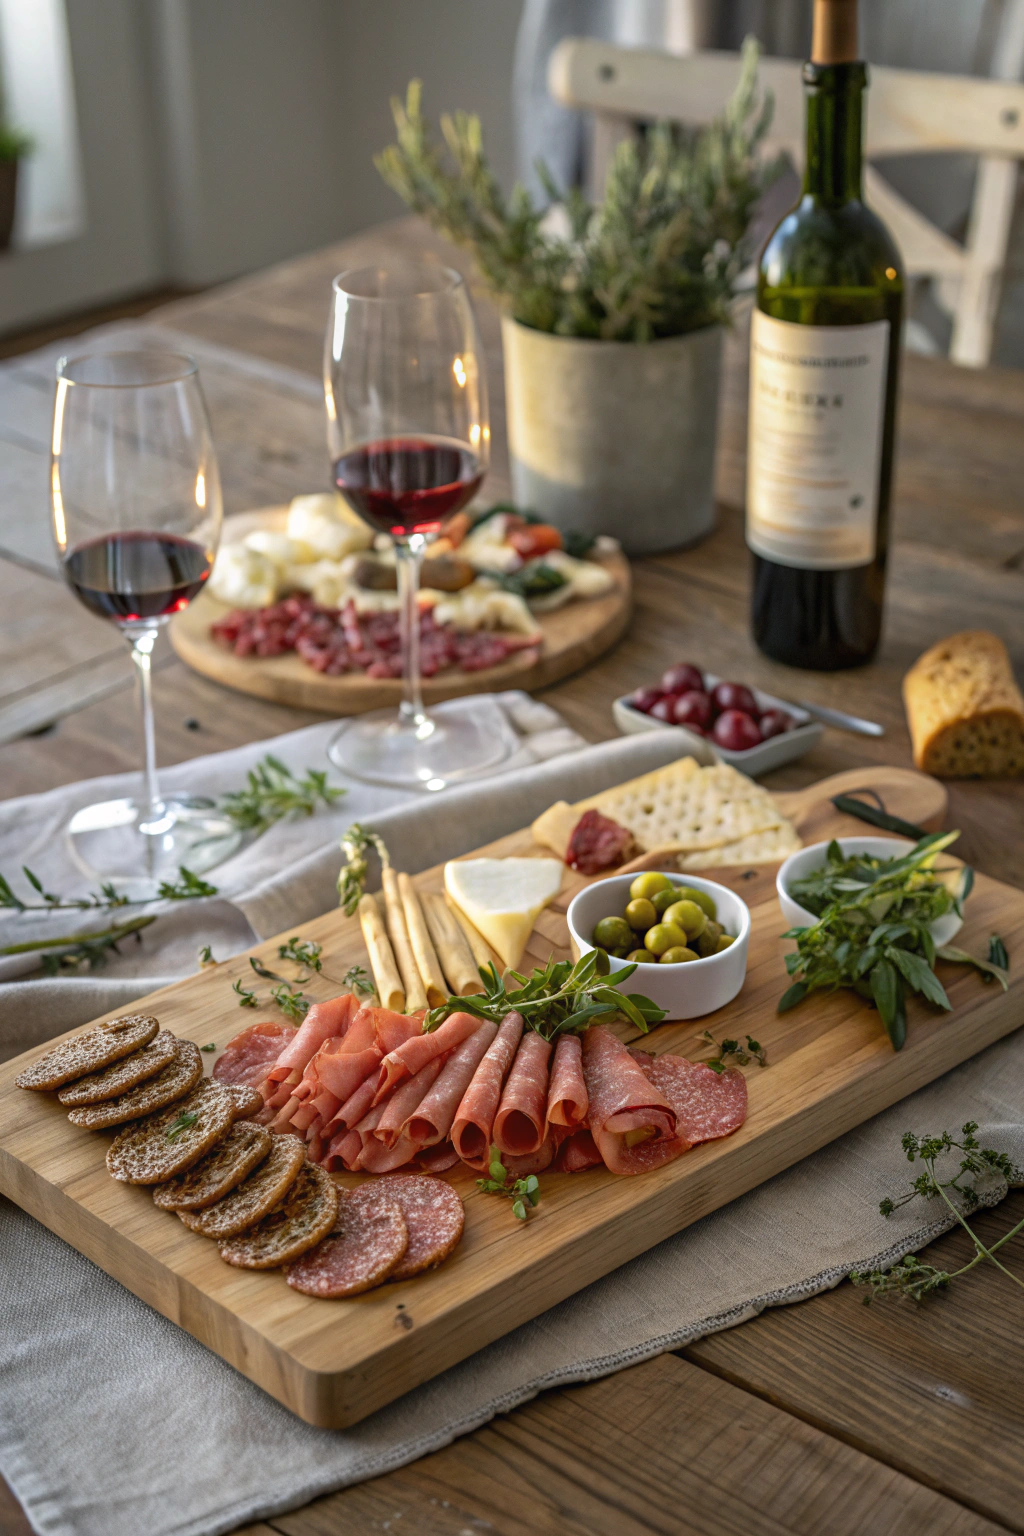
Step 1: Choose Your Board and Plan Your Space
The foundation of your charcuterie masterpiece begins with selecting the right board. A wooden board offers rustic charm and practicality, while marble provides an elegant backdrop and keeps cheese cool longer.
Board Selection Tips:
- For 4-6 people: Choose a 12×18-inch board
- For 8-10 people: Opt for an 18×24-inch board
- Ensure the board has a lip or raised edge to prevent items from sliding off
- Consider having small bowls ready for olives, honey, and other accompaniments
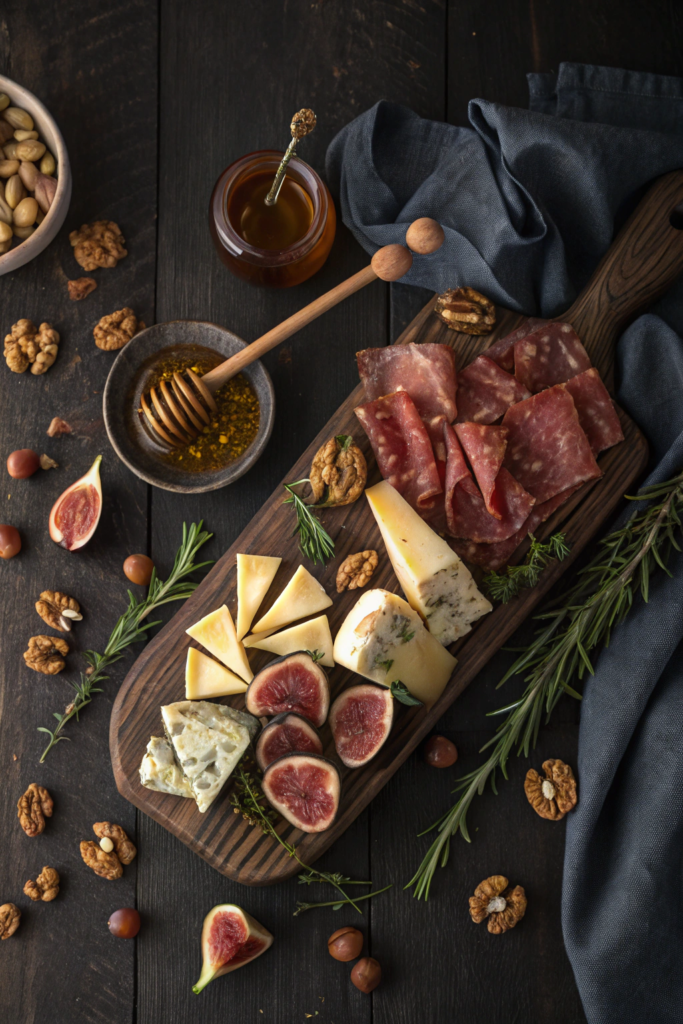
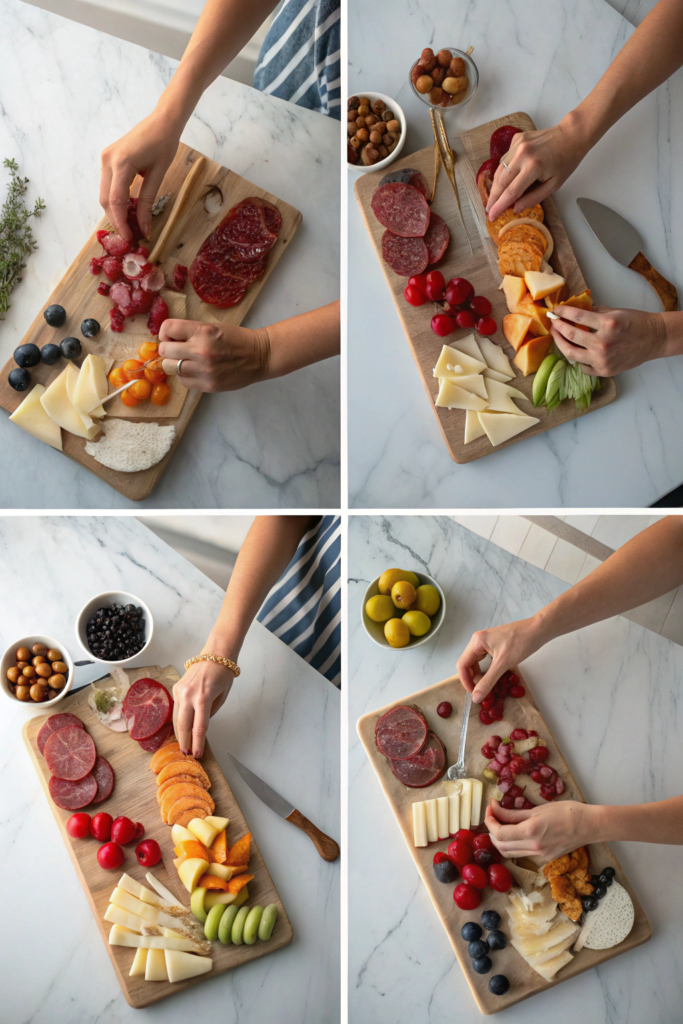
Step 2: Select and Arrange Your Meats
The star of any charcuterie board is the selection of cured meats. Plan on 2-3 ounces of meat per person and include a variety of textures and flavors.
Essential Meat Selections:
- Thinly sliced prosciutto (arrange in loose, flowing folds)
- Hard salami (fan out in a circular pattern)
- Sopressata or chorizo (create a diagonal line across the board)
- Pâté or terrine (place in a small dish with a spreading knife)
Pro Tip: Let meats sit at room temperature for 30 minutes before serving to enhance their flavors.
Step 3: Add Your Cheese Selection
A well-balanced cheese selection includes different milk types and textures. Plan on 1-2 ounces of each cheese per person.
Perfect Cheese Combinations:
- Aged hard cheese: Aged cheddar or Parmigiano-Reggiano
- Soft cheese: Brie or Camembert
- Blue cheese: Gorgonzola or Roquefort
- Semi-firm cheese: Gouda or Manchego
Arrangement Strategy:
- Cut hard cheeses into small wedges or cubes
- Leave soft cheeses whole with appropriate cheese knives
- Space cheeses apart on the board
- Label unusual varieties to help guests
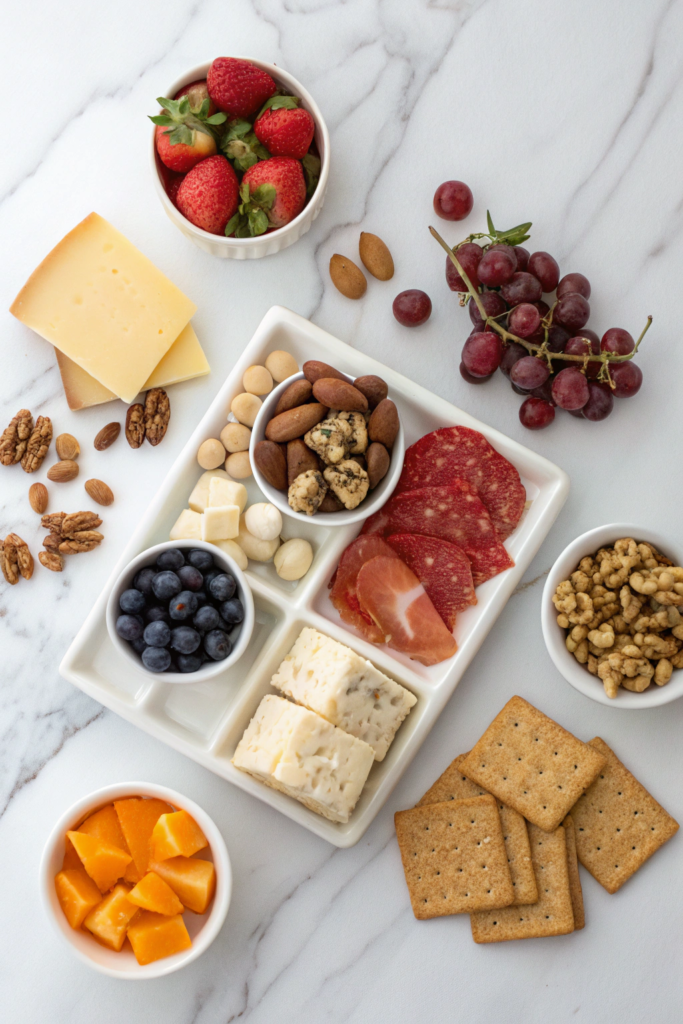
Step 4: Include Fresh and Dried Fruits
Fruits add color, sweetness, and visual appeal while complementing the savory elements.
Seasonal Selections:
- Fresh grapes (small bunches scattered throughout)
- Sliced pears or apples (tossed in lemon juice to prevent browning)
- Dried apricots and figs
- Fresh berries for pops of color
- Candied oranges or other crystallized fruits
Step 5: Add Nuts, Olives, and Other Accompaniments
These elements add texture and help fill spaces while providing additional flavoring options.
Essential Additions:
- Mixed nuts (marcona almonds, walnuts, pistachios)
- Marinated olives
- Cornichons or pickled vegetables
- Local honey in a small jar
- Fig jam or quince paste
- Whole grain mustard
- Fresh herbs for garnish (rosemary sprigs, edible flowers)
Step 6: Complete with Bread and Crackers
The final touch is adding various vessels for enjoying your carefully selected ingredients.
Bread and Cracker Selection:
- Sliced baguette
- Water crackers
- Seeded crackers
- Breadsticks
- Gluten-free options if needed
Pro Tips for Assembly:
- Create Height and Dimension:
- Stack crackers vertically
- Use small jars or bowls at different heights
- Create waves with meat folds
- Layer ingredients for depth
- Follow the Rule of Odds:
- Group items in sets of 3 or 5
- Create asymmetrical arrangements
- Vary the sizes of groupings
- Fill Empty Spaces:
- Use smaller items like nuts or dried fruit to fill gaps
- Scatter fresh herbs between sections
- Ensure no empty spaces are visible
- Consider Temperature:
- Remove cheese from refrigeration 30-45 minutes before serving
- Keep extra crackers nearby for refills
- Have backup ingredients ready for longer events

Seasonal Variations
Summer Board:
- Add fresh figs and peaches
- Include lighter cheeses
- Use fresh herbs abundantly
Winter Board:
- Incorporate dried fruits
- Choose aged, robust cheeses
- Add spiced nuts and winter preserves
Common Mistakes to Avoid:
- Overcrowding the board
- Forgetting serving utensils
- Not providing enough crackers
- Placing strong-smelling cheeses too close to delicate ones
- Neglecting to include variety in textures and flavors
Make-Ahead Tips:
- Prepare garnishes and cut cheese up to 24 hours ahead
- Store components separately
- Set out the board and non-perishables early
- Arrange meats and cheeses just before guests arrive
- Keep backup supplies ready for replenishment
Remember, the key to a perfect charcuterie board lies not just in the quality of ingredients but in the thoughtful arrangement and attention to detail. Each board should tell a story through its careful composition and invite guests to explore different flavor combinations.
With these six steps mastered, you’ll be ready to create Instagram-worthy boards that not only look spectacular but provide a delightful culinary experience for your guests.