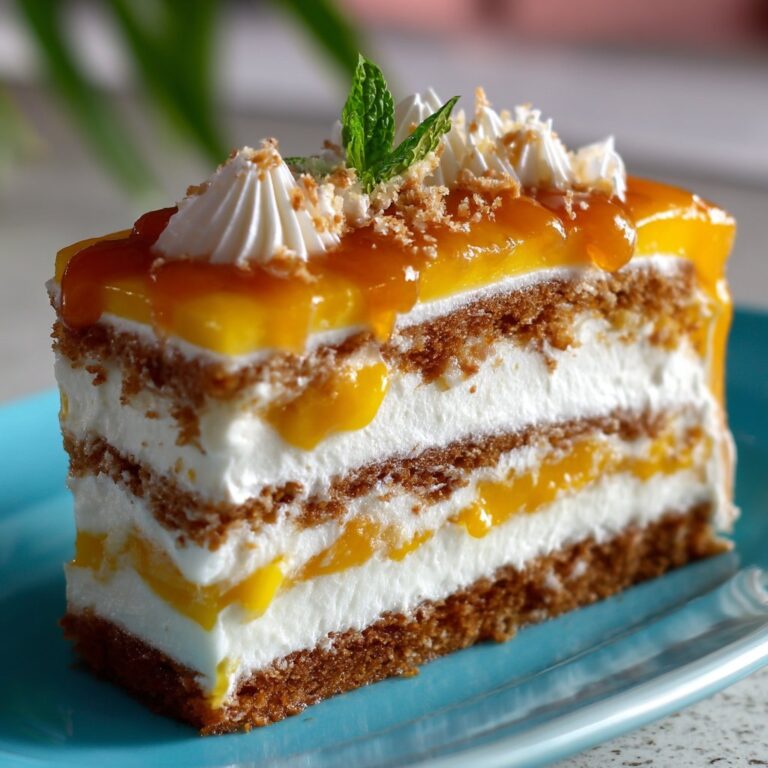
Pineapple Cream Cheese Pie
My Go-To Crowd Pleaser: Pineapple Cream Cheese Pie!
Okay, let me tell you about this Pineapple Cream Cheese Pie. It’s one of those recipes that’s been floating around my family forever, you know? I think my grandma got it form a magazine clipping ages ago. It’s the kind of dessert I whip up when I need something reliably delicious without spending hours in the kitchen. Seriously, it looks way more complicated than it is, which is always a win in my book! Plus, who doesn’t love that tangy pineapple mixed with creamy, dreamy cheesecake vibes? It’s just good mood food.
Why This Pie is Basically Always a Good Idea
Honestly? I make this whenever I have last minute company coming over, or for pretty much any potluck situation. It travels well (mostly!) and people just go absolutely nuts for it. My kids request it constantly. It’s that perfect balance of sweet and tangy, and the texture is just *chef’s kiss*. It’s also pretty forgiving; even if your graham cracker crust crumbles a bit (mine totally did the first time!), who cares? It still tastes amazing. The hardest part is waiting for it to chill, seriously!
What You’ll Need (Give or Take)
The ingredients are pretty straightforward, nothing too fancy here.
- Graham Cracker Crust: You can buy one pre made (no shame in that game, I do it all the time when I’m rushed!) or make your own. If making, you need about 1 ½ cups graham cracker crumbs, 1/3 cup melted butter, and maybe 1/4 cup sugar.
- Cream Cheese: One 8 ounce block, softened. And yes, please let it soften properly! Fighting with cold cream cheese is no fun. Full fat works best here for texture, trust me. My grandmother swore by Philly, but honestly, store brand is fine.
- Sweetened Condensed Milk: One 14 ounce can. Not evaporated milk, okay? Big difference!
- Crushed Pineapple: One 20 ounce can. Now, this is important: DRAIN IT REALLY, REALLY WELL. Like, press it in a sieve. You don’t want pineapple soup pie. Sometimes I use the tidbits if the store is out of crushed, just give ’em a rough chop.
- Lemon Juice: About 1/4 cup. Fresh is nice, but the bottled stuff works in a pinch. It adds that necessary zing.
- Vanilla Extract: 1 teaspoon. Standard stuff.
- Whipped Topping: An 8 ounce tub, thawed. You know, Cool Whip or the store brand equivalent. Or hey, if you’re feeling fancy, whip your own heavy cream with a bit of sugar! About 1.5 cups heavy cream should do it.

Okay Let’s Make This Thing!
- Prep the Crust: If you’re making your own crust, mix the graham cracker crumbs, sugar, and melted butter. Press it firmly into the bottom and up the sides of a 9 inch pie plate. You can bake it at 375°F (190°C) for like 7-8 minutes to set it, or just chill it like I usually do. Lazy baker alert! If using store bought, just unwrap it. Done.
- Make the Filling: In a big bowl, beat the softened cream cheese with an electric mixer until it’s super smooth. Seriously, get all the lumps out now. A stand mixer is great, but hand mixer works fine. Then, pour in the sweetened condensed milk and lemon juice, beating until it’s all combined and smooth again. Stir in the vanilla.
- Pineapple Time: Okay, remember that *really well drained* pineapple? Gently fold it into the cream cheese mixture. Don’t go crazy mixing here, just fold ’til it’s distributed. This is where I usually sneak a taste… you know, for quality control.
- Fold in the Fluff: Now, gently fold in the thawed whipped topping. Try to keep it light and airy! Don’t deflate all that fluffiness you worked for. Or, uh, that the factory worked for.
- Fill ‘er Up: Spoon the glorious mixture into your prepared graham cracker crust. Spread it out evenly. It might look a bit soft, don’t worry if it looks a bit weird at this stage – it always does!
- Chill Out: This is crucial. Cover the pie loosely with plastic wrap (try not to let it touch the top too much) or foil and stick it in the fridge. It needs to chill for *at least* 4 hours, but honestly, overnight is even better. It really lets the flavors meld and the pie set up properly. Patience, grasshopper!
Stuff I’ve Learned the Hard Way (aka Notes)
- Seriously, drain that pineapple. Use a fine mesh sieve and press down with a spoon. Or even dump it onto a few layers of paper towels and squeeze gently. Soggy pie filling is just…sad.
- Make sure the cream cheese is truly room temperature soft. It makes mixing SO much easier and prevents lumps. I usually just leave it on the counter for an hour or two before I start.
- Don’t overmix once you add the whipped topping! It’ll make the filling less airy and light. Gently does it.
- I actually think this pie tastes better the next day. So if you can make it ahead, do it!
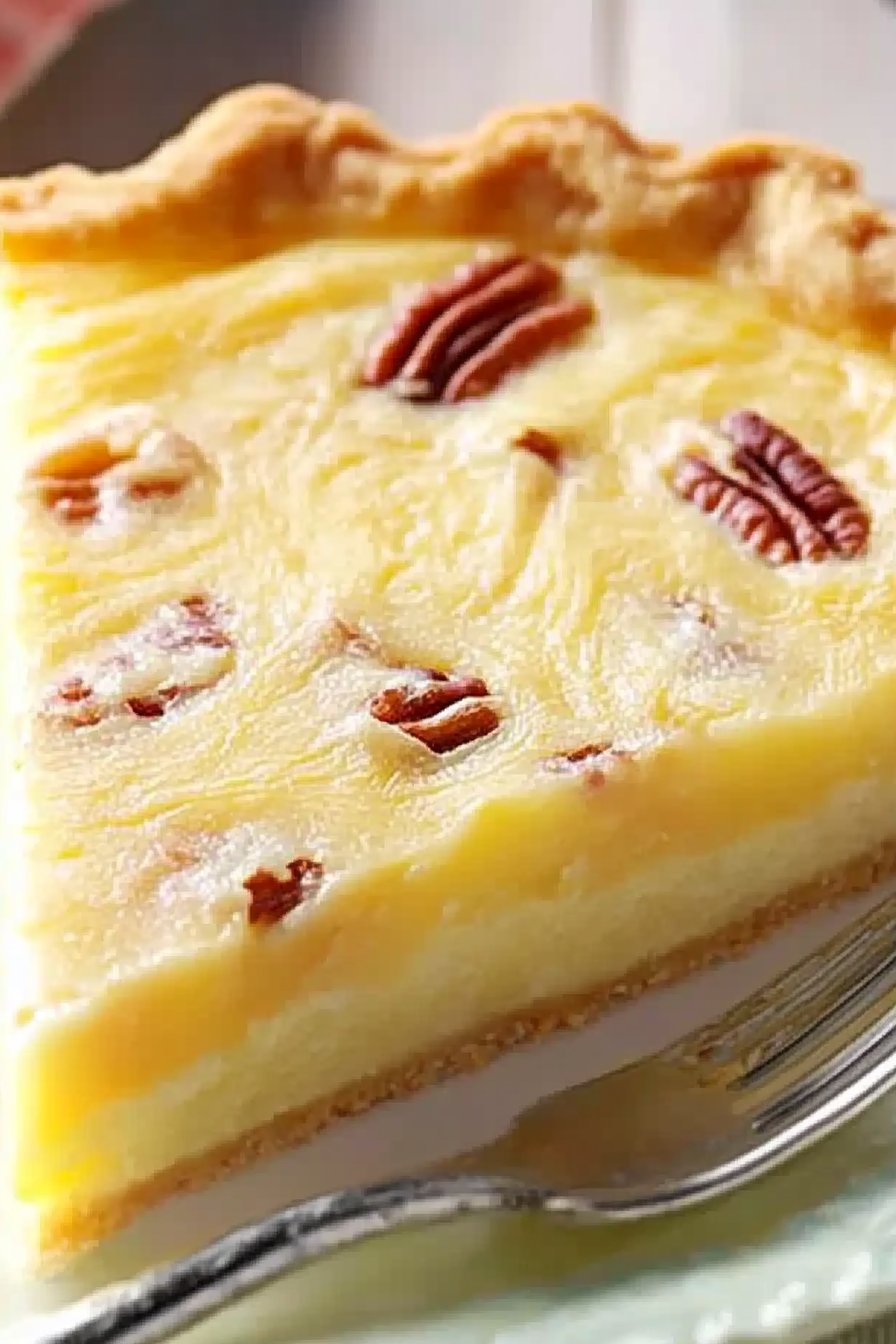
Switching It Up (Variations I’ve Tinkered With)
Sometimes I like to play around with it!
- Mandarin Oranges: Instead of pineapple, try a can of well drained mandarin oranges. It’s a different vibe, much sweeter, but pretty tasty.
- Toasted Coconut: Sprinkle some toasted coconut on top before serving. Adds a nice crunch and tropical flair. You can find bags of sweetened shredded coconut easily, just toast it lightly in a dry pan or the oven. Watch it carefully though it burns fast!
- The Fail: Okay, so I once tried adding maraschino cherries (chopped) along with the pineapple. Sounded festive, right? Wrong. It turned the filling a weird pinkish grey colour and the flavour was just…off. Would not recommend that experiment! Sometimes simple is best.
Oh, speaking of coconut, reminds me of this time my cousin tried making coconut macaroons and accidentally used salt instead of sugar. Whoops! Anyway, where was I?
Tools of the Trade (Sort Of)
You don’t need much!
- A 9 inch pie plate (glass or metal is fine)
- A large mixing bowl
- An electric mixer (handheld or stand mixer). Okay, I *really* recommend an electric mixer for getting the cream cheese smooth. But if you’re stuck, a whisk and a lot of elbow grease could probably get you there… maybe. Be prepared for an arm workout though!
- A rubber spatula or large spoon for folding
- A sieve for draining the pineapple (pretty important this one!)

How Long Does It Keep?
Covered tightly in the fridge, this pie will technically last for about 3-4 days. Though honestly, in my house it never lasts more than a day or two! It does tend to weep a little bit after the second day, but it’s still perfectly yummy. I don’t recommend freezing it; the texture gets kinda funky when it thaws.
How We Eat It Around Here
We usually just slice it up and serve it cold straight from the fridge. Sometimes, if I’m feeling extra, I’ll add another dollop of whipped topping on each slice or maybe a sprinkle of leftover graham cracker crumbs. My dad always liked a cherry on top, but I usually skip that.
Don’t Make My Mistakes! (Pro Tips From Me)
- Rushing the Chill: I once tried serving this after only like, 2 hours of chilling because people were getting impatient. Big mistake. It was soupy and didn’t hold its shape at all. Give it the full 4 hours, minimum! Overnight is truly best for slice-ability.
- Forgetting to Drain: Yep, done this too. Ended up with a watery mess that soaked the crust. Drain, drain, drain that pineapple! Press it! Squeeze it! Get that water out!
- Using Cold Cream Cheese: Don’t do it. You’ll beat and beat and still have little lumps. It’s worth the wait to let it soften properly on the counter. Makes everything smoother.
Questions People Ask Me All The Time
Can I use fresh pineapple?
Hmm, I haven’t personally tried it mainly because canned crushed pineapple is just so easy and has the right moisture level already. Fresh pineapple has a LOT more juice and also contains an enzyme (bromelain) that can sometimes mess with dairy setting up unless it’s cooked. So, you’d probably need to cook the fresh pineapple down first before using it. Seems like extra work to me, but let me know if you try it!
Can I make this gluten free?
Totally! Just use a gluten free graham style cracker crust. They sell pre made ones, or you can make your own using GF graham crackers. The filling itself is naturally gluten free.
My pie seems runny, what did I do wrong?
Ah, bummer! Usually, it’s one of two things: either the pineapple wasn’t drained well enough (yep, mentioning it again!), or it just needs more chill time. Make sure you gave it at least 4 hours, preferably longer. Also ensure you used sweetened condensed milk, not evaporated milk.
Can I use low fat cream cheese or whipped topping?
You *can*, but… I find the texture and richness suffer a bit. Full fat cream cheese gives it that super creamy mouthfeel, and regular whipped topping holds its structure better. But if you need to cut back, it’ll still *work*, just might not be quite as decadent. Manage your expectations, maybe?
Hope you give this Pineapple Cream Cheese Pie a try! It’s seriously a winner. Let me know how it turns out!
P.S. If you need a good visual on folding techniques, King Arthur Baking has a decent video. And if you’re looking for other easy pie ideas, Allrecipes always has tons!

